My 15-year-old daughter inspired me to make this craft after making her own Memory Jar for 2014, and I am so excited to start Memory Jars for the whole family for this coming year. It’s a perfect (and perfectly easy) craft for kids and adults alike. Each person, regardless of age, can decorate their own jar and fill it up according to their ability level.
The idea is simple: in January, the jar is filled with blank strips of paper, but through the year, whenever anything “memorable” happens, you take out a strip of paper, write down the memory, fold the paper up, and stick it back in the jar. Those memories sit, folded up, til the next New Year’s Eve, when you take the folded papers out and read them one by one, reliving the best memories of the past year.
I’ll wager to say that most of those memories would have been forgotten and might have been lost had they not been written down. I love that there is no “right or wrong” way to keep Memory Jars. You can write a memory down daily, weekly, or whenever something truly memorable happens. I’d recommend keeping your Memory Jar on a nightstand or somewhere that will be noticed frequently so that it stays fresh in the mind.
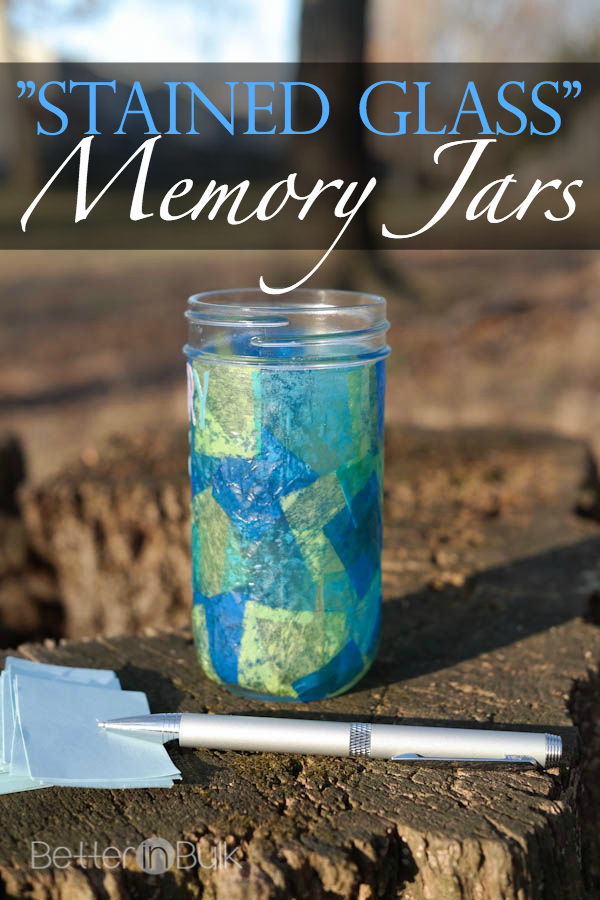
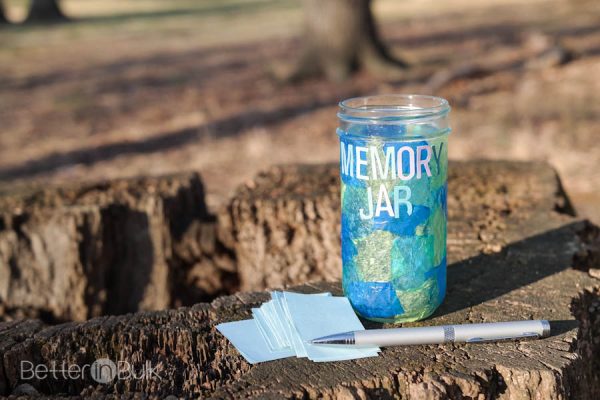
A Memory Jar can be made of anything, really, and memories can be structured however works best for each person. I made my jar a faux stained glass with 2 simple supplies – leftover holiday tissue paper and Mod Podge (which I always have on hand in case of a crafting emergency, of course). Kids will love getting their hands messy and painting with “glue”!
How to make a simple faux stained glass Memory Jar:
Supplies Needed:
- Mason Jar
- Colored tissue paper (I used 3 “coordinating” colors for a fun effect)
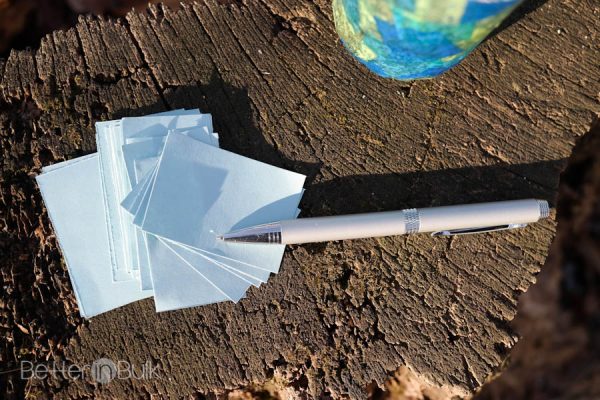
- Small strips of regular paper (ie, 2in x 3in)
- Mod Podge
- Letter stickers, optional
- Large paint brush
- Scissors or paper cutter
Steps:
1 – Cut your paper strips (these are the strips of paper for writing down your memories, so you want them to be big enough to hold a sentence or two. I’d recommend something around 2×3 inches).
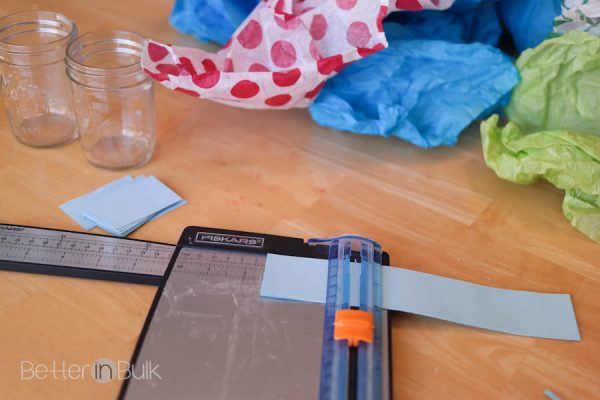
2 – Cut your tissue paper into small squares (there’s no right or wrong way to do this! I’ve seen really cute jars made with circles of tissue paper, which would be so much fun…but harder to cut).
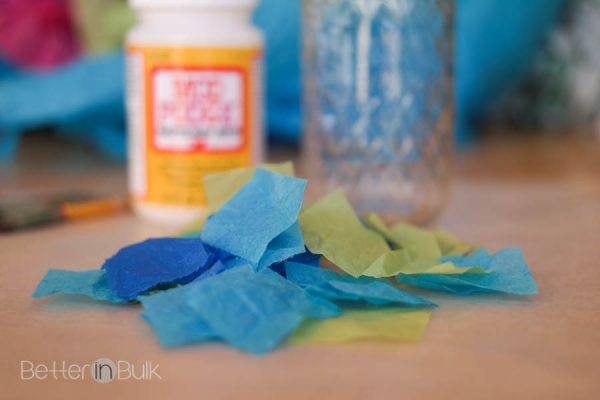
3 – Paint a thin layer of Mod Podge onto your jar.
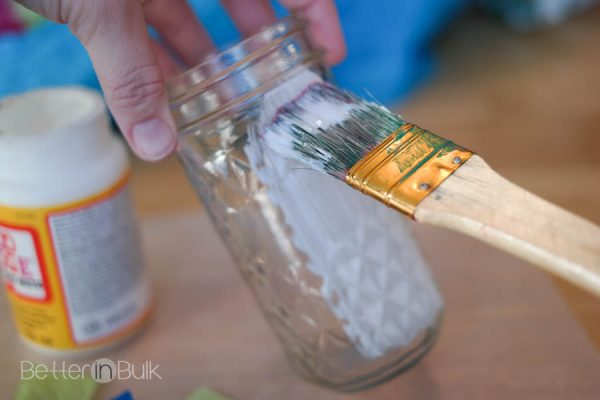
4 – Carefully place the tissue squares onto the Mod Podge (alternate colors so there’s a nice variety. It’s fine to overlap tissue paper).


5 – Add stickers if desired, then generously paint a layer of Mod Podge over everything. Let Mod Podge dry completely.
After the jar is dry, it’s time to start filling up the jar with memories!
What are some of your best memories of 2014…and what kinds of memories do you hope to fill your jar up with this coming year?
© 2014, Food Fun Family. All rights reserved.


Thank you! I think we ALL need to recognize and appreciate the joy in life a little more. :)
Fabulous idea for encouraging children to be grateful and recognize the joy in life!
Thanks so much for sharing on Show Me Saturdays! Hope to see you again this weekend!
~ Ashley
Oh my! What a cute idea. Pinned and tweeted. Thank you so much for being a part of our party. We really appreciate you! I hope to see you on tonight at 7 pm. Happy Monday! Lou Lou Girls
Thank you for posting to Motivation Monday!
Awesome idea for a kid’s craft! And the memories will be saved in style! I’d love it if you shared this at the Saturday crafty showcase at Bowdabrablog.com
~Crystal
I love this idea I’m all about traditions and my sons would love to do this idea thanks for sharing visiting from freedom friday