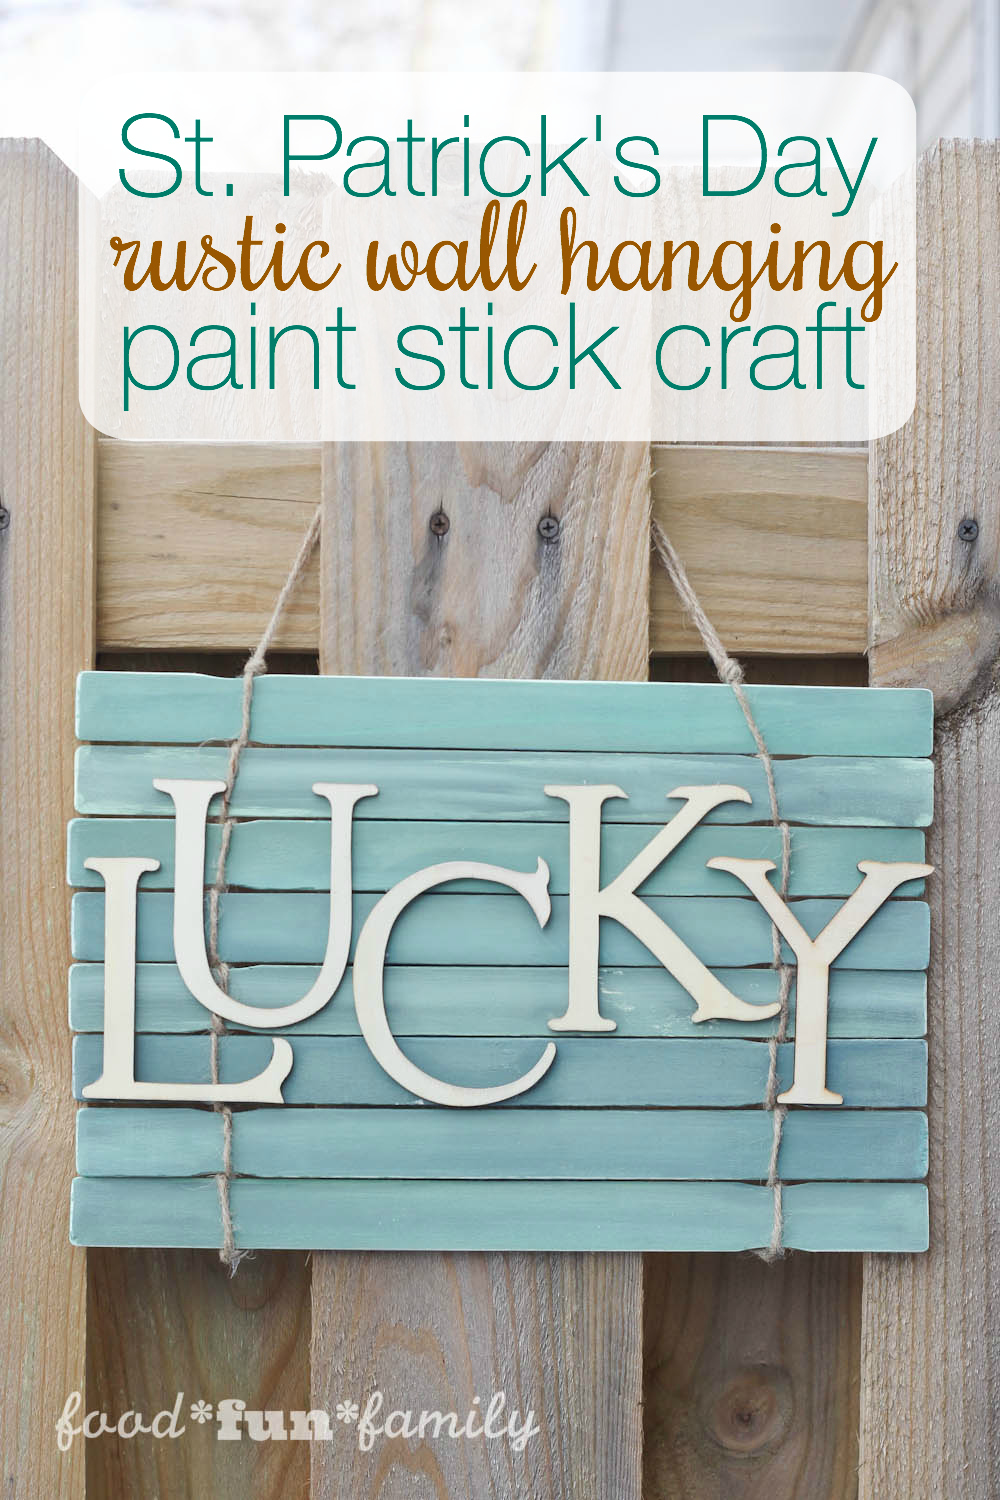
Looking for a paint stick craft for St. Patrick’s Day? It’s your LUCKY day!
Way back in December, a friend of mine gave me a bunch of paint sticks – you know the 12-inch paint stirrers you can get by the handful in the pain section of your local hardware store? She had picked up more than she needed for a craft she was doing for Christmas, and didn’t want to hold on to them any more, so she passed them on to me. It took me 2 months to figure out a project to use them on, and even then I really struggled to figure out how to make something I liked. This project went through several stages, but once I looped my husband into the madness and we were able to brainstorm together it all came together, and I was so happy with how it turned out.
How to make a rustic wall hanging paint stick craft for St. Patrick’s Day
OK, I fear that I’m not going to explain these steps very well, but I assure you – this project is SO easy! It basically consists of painting the sticks, weaving them together with twine and gluing the letters on top of the sticks. Seriously easy (for some reason, writing out the steps made it seem so much more complicated than it is!
Before I start with the steps, I have to tell you the crazy process I went through to figure out how I wanted my final product to look. I tried several different designs (starting out with a wall hanging that was 12 paint sticks tall, drawing a message on one of the sticks with a Sharpie, cutting out a cute shamrock, and more) but it finally came together when my husband and I played around with the supplies that I had on hand.
Here’s what you need to get started (most of these supplies were things we had on hand. PS – I used Amazon affiliate links to link to some of the products below):
- 1′ x 12′ paint sticks (I used 8 in my finished project, but you can make your sign any size)
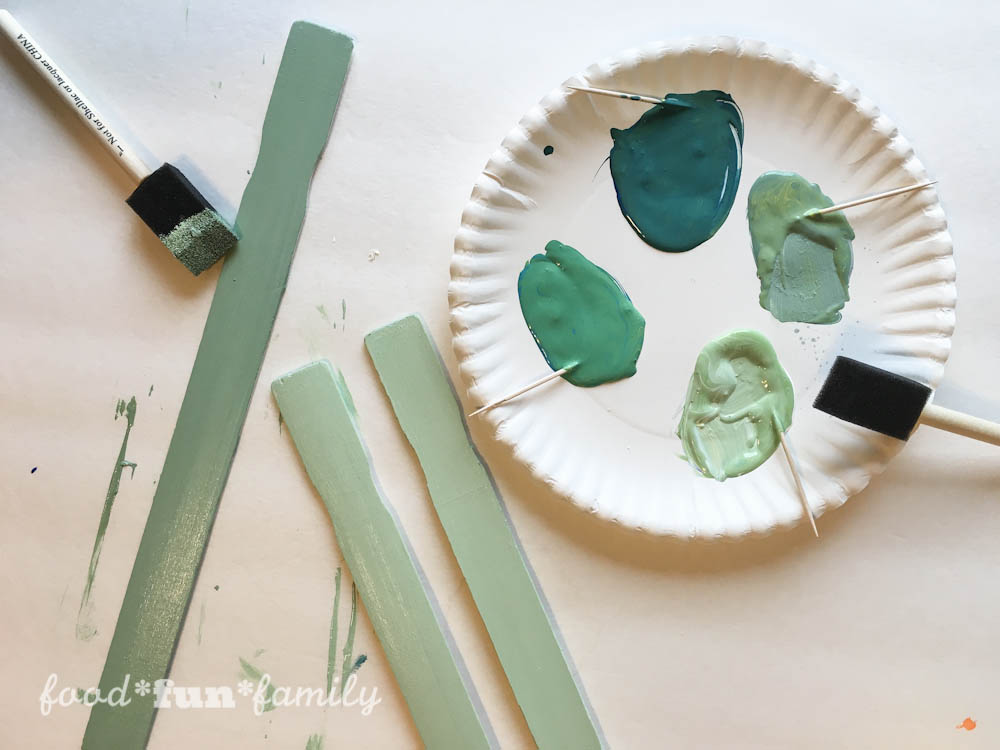
- Green acrylic paint – I mixed colors (see my notes in the post)
- Paint brush (I used a foam sponge brush
- Twine (I used two 25′ pieces of twine)
- Wooden craft letters: L-U-C-K-Y
- Hot glue gun and glue sticks
- Fine sand paper
Note: It’s important for the design of this project that you use paint stirrers that have the groove on one side (kind of like a handle). The alternating groove helps the twine have somewhere to rest and hold it all together.
Ready to see how you go from this….
…to the finished craft? Continue reading to see the step-by-step instructions (including printable instructions):
© 2016 – 2018, Food Fun Family. All rights reserved.


Thank you! It was harder than I hoped it would be to come up with something, but I’m really happy with the end result!
What a great idea in using those paint sticks. This craft project turnned out nice!
wow I’m really impressed. I already keep every bit of this and that, but if someone gave me a bunch of paint stirrers, they’d still be on the bottom of a box somewhere. This came out adorable, you really have an eye for colors and downright cuteness. Now on top of all my scraps I want someone to give me some paint stirrers!!!
Thanks! If you end up making it, snap a picture an share it with me! I’d love to see it!!
This is so cute, and I like making homemade craft items. We just got done making some Easter crafts and I really like this Lucky Rustic Wall hanging. Thanks for the great idea for a craft project.
Awesome project and thanks for letting me share it in my Lucky Wood Projects for St. Patrick’s Day. https://www.ribbonsandglue.com/lucky-wood-projects-for-st-patricks-day.html
Holly :)
Oh, I really like this! It is so pretty! I have to make this with my daughter!
Yes, that was my thought exactly! You *may* see more paint stick signs from me coming up! lol
This is so cute! I love it. I can see making versions for all the holidays throughout the year!
What a fun craft. I’m sure I have a bunch of paint stirrers!