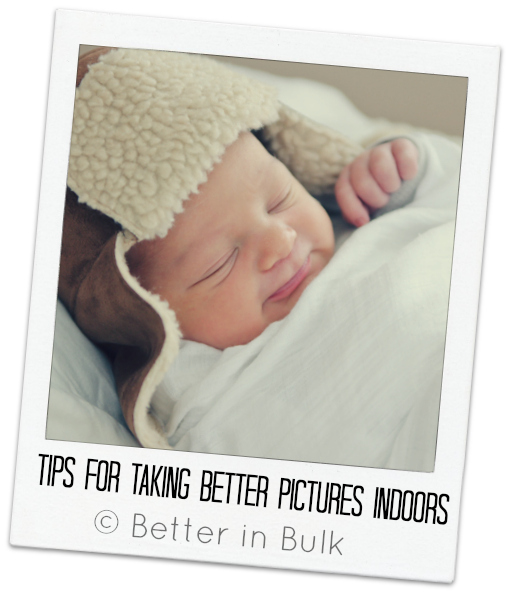
No matter if you are a professional, hobbyist, or a mom wanting to improve your photos, everyone seems to struggle sometimes with capturing the perfect picture inside. When I asked people what photo-related questions they had, the majority of the responses had something to do with taking pictures indoors. Today I’d love to address some common problems with indoor photography.
What are the problems that you face when taking pictures indoors? The photos tend to be too dark (under exposed), grainy, or blurry. Right? The key to each of these challenges is light. Simply put, photography needs light, and indoor pictures tend to have too little light.
To understand these common problems, it is helpful to understand why they happen.
When conditions are dark, the shutter stays open longer to let in more light (you know when you hear the “click” each time you take a picture? That’s the shutter opening and closing). When the shutter stays open longer to let in that extra light, there is a greater chance for camera shake or for your subject to move. Even the slightest movement from the photographer or the subject can result in blur.
One more thing: the more you zoom in, the more likely you will be to have camera shake issues. So low light and zooming in are a recipe for a blurry picture.
If the shutter doesn’t stay open long enough to let in enough light, then your picture will be underexposed and dark. Make sense?
So what do you do?
Indoor Photography Tips:
- The first step is to increase the light in the room as much as possible. Open the windows (and move towards them) during the day. Turn on those lamps.
- The second step is to keep the camera steady. If you have a tripod….great! If not, you can keep the camera steady by bracing yourself against a wall or furniture, or simply by setting your camera down on a table or a stack of books.
- If you have a point and shoot camera and can’t change the settings manually, look for a “night” mode. Typically the night setting will leave the shutter open longer and increase the size of the aperture. Remember to brace that camera!
- Don’t feel bad if you have to use your camera’s flash. Sometimes flash is simply necessary.
If you are using a camera with manual settings, here are a few additional tips:
- Use a slower shutter speed. Shutter speeds are represented by fractions—the bigger the number, the slower the shutter speed (for example, 1/25 is slower than 1/100)
- You will also want a wider aperture (ie—how wide the lens opens, again controlling the amount of light). With the aperture settings (called f-stops), the smaller the number, the wider the aperture (for example, f/2.8 is larger than f/9.0).
- Using a higher ISO will also help. What is ISO? ISO is the cameras sensitivity to light (remember when we all used film, and each roll had an ISO # on it?). An ISO of 100 is great for sunny days outside. When you’re shooting indoors, go for 400 or higher. But beware—the higher the ISO, the more digital noise (like graininess in film) you will have.
There you go! A few easy things that you can do to improve your indoor shots. Hope they help!
© 2009 – 2013, Food Fun Family. All rights reserved.


Leave a Reply