This is a sponsored post written by me on behalf of The Gorilla Glue Company for IZEA. All opinions are 100% mine.
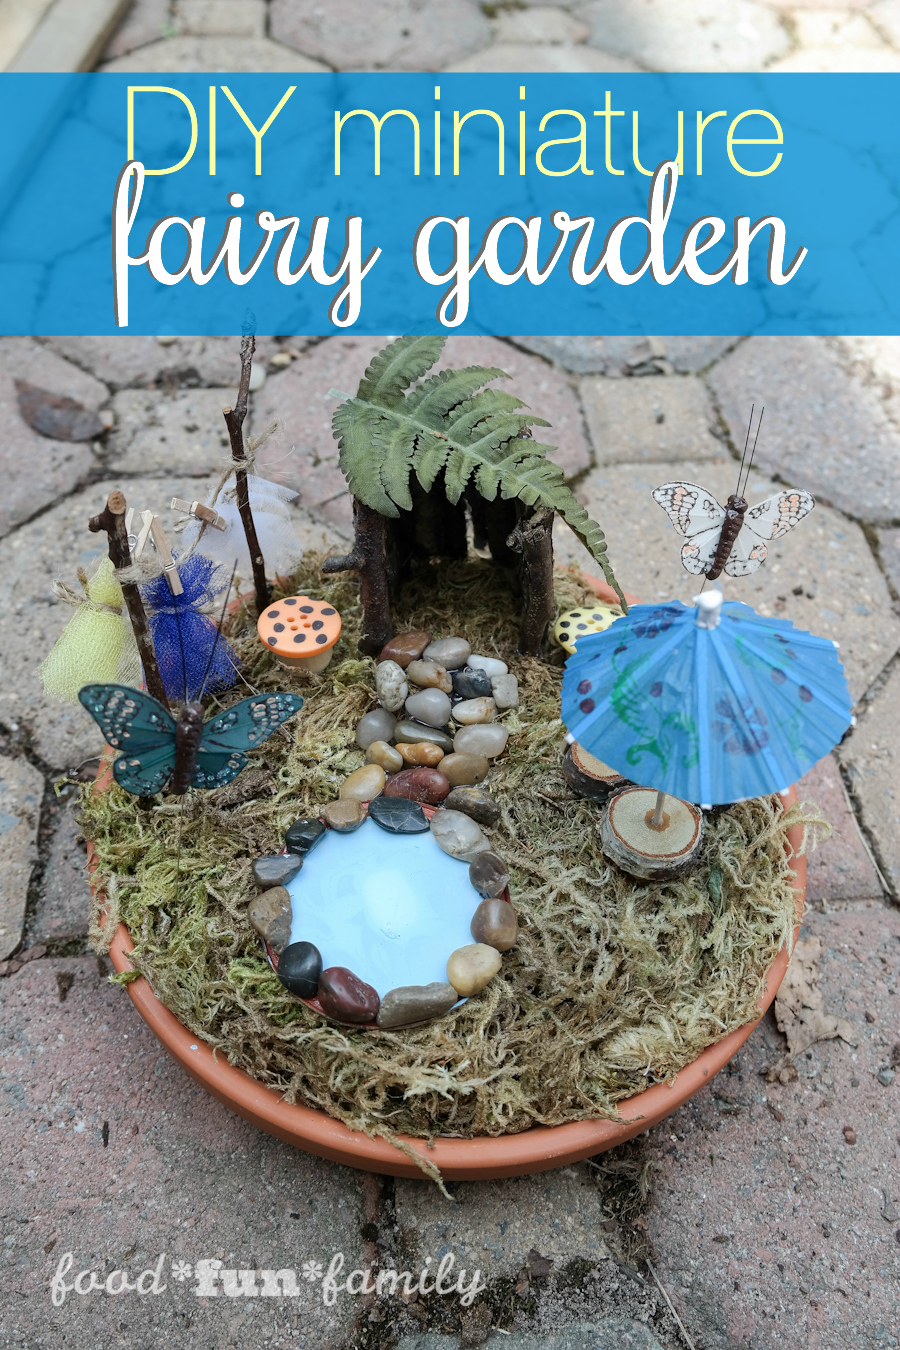
This summer has been hot, hot, hot! So when we’re not at the pool, we’re looking for projects that we can work on inside, where we can stay out of the sun and the heat. This week, a few of my kids and I worked on our very first fairy garden. We’ve seen fairy gardens all over Pinterest, but we’ve never made one ourselves. We are hooked!
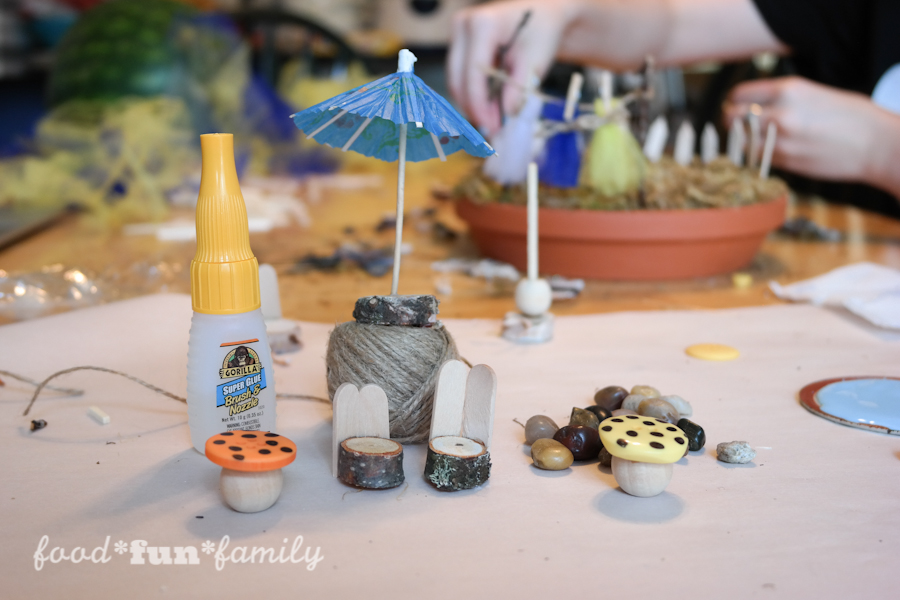
We gathered lots of supplies and set up our little fairy workshop on the kitchen table, where we created our own fairy garden over a couple of days. Our best tools for making our fairy garden? A pair of scissors and a bottle of Gorilla Super Glue with TWO ways to dispense. I’ve used Gorilla Glue before, but the Gorilla Super Glue Brush & Nozzle was so easy to use and left virtually no mess. I can’t say the same for the rest of the table!
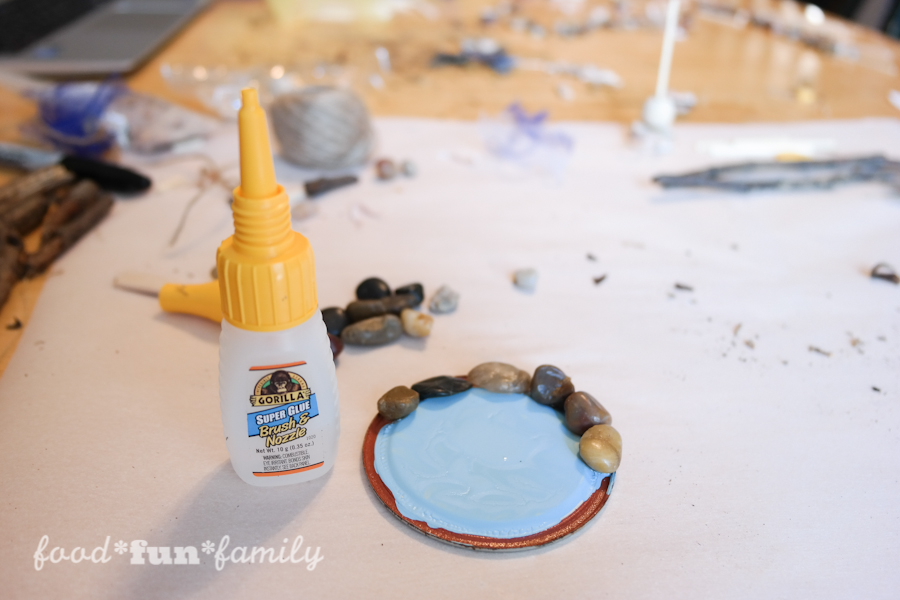
About Gorilla Super Glue Brush & Nozzle: this new package features a fine bristle brush that offers controlled coverage and the precision tip nozzle for quick, easy dispensing. The brush tip was perfect for gluing sticks together to make the fairy house, and the precision tip nozzle was ideal for larger areas, like attaching pebbles to the mason jar lid pond (so that I could act quickly!).
I love that both methods of applying the Gorilla Glue dried fast and held tight. Gorilla glue is perfect for wood, metal, ceramic (but not anything that would go in a dish washer), rubber, leather, paper and some plastics. The brush is ideal for edge to edge coverage and the nozzle is ideal for precision application. I used both applicators for our fairy garden.
The best thing about making your own fairy garden is that the only limitation is your imagination. You can get supplies and at the store or in your own backyard (we did a little of both). Note: Gorilla glue can be purchased at hardware and home center stores nationwide.
How to make a fairy garden picnic table and chairs:
Supplies Needed:
- 3-4 flat wood disks (found at craft stores or cut from backyard branches)
- 2 popsicle sticks, trimmed
- 1 cocktail umbrella
- Gorilla Super Glue Brush & Nozzle
Directions:
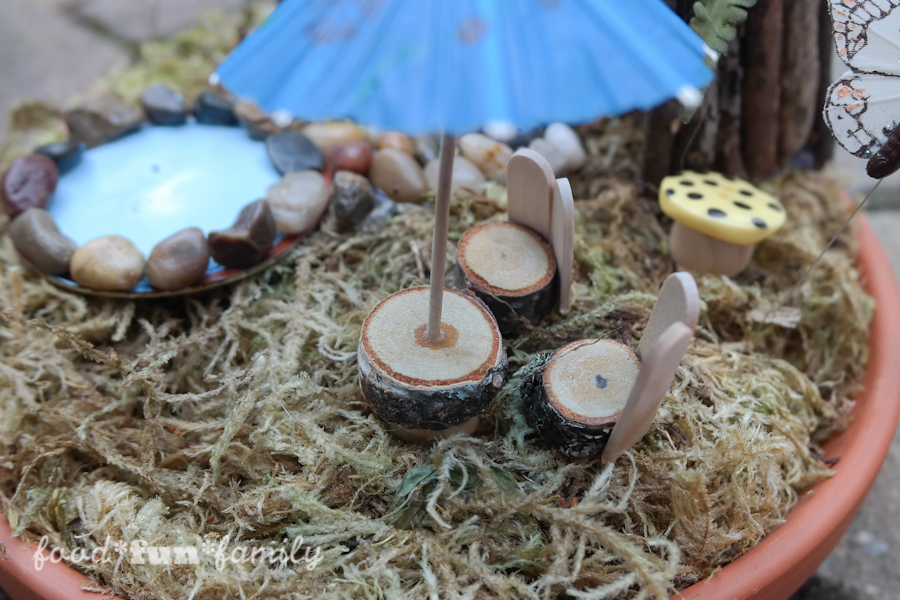
- Trim popsicle sticks for chair backs. Use the brush applicator to apply glue to a wood disk. Hold two trimmed popsicle sticks for a few seconds, until they hold. Repeat for a second chair.
- To make the picnic table, make a small hole in the center of the 3rd wood disk with the tip of a knife or scissors. Trim the sharp end off of a cocktail umbrella so that the end is blunt. Using the precision tip applicator, apply a drop of Gorilla glue in the center of the wood disk and hold the blunt end of the umbrella in place for a few seconds until it holds. You can glue a second disk to the bottom of the table to make it taller, if desired.
How to make fairy garden mushrooms:
Use Gorilla glue brush applicator to apply glue to the tip of a wood bead. Attach a large button on top and hold in place until secure. Draw dots on the top of your button to make mushroom spotted.
How to make a fairy house:
Supplies needed:
- Straight sticks, trimmed to the same length
- Gorilla glue brush applicator
- Large silk leaf for roof
Directions:
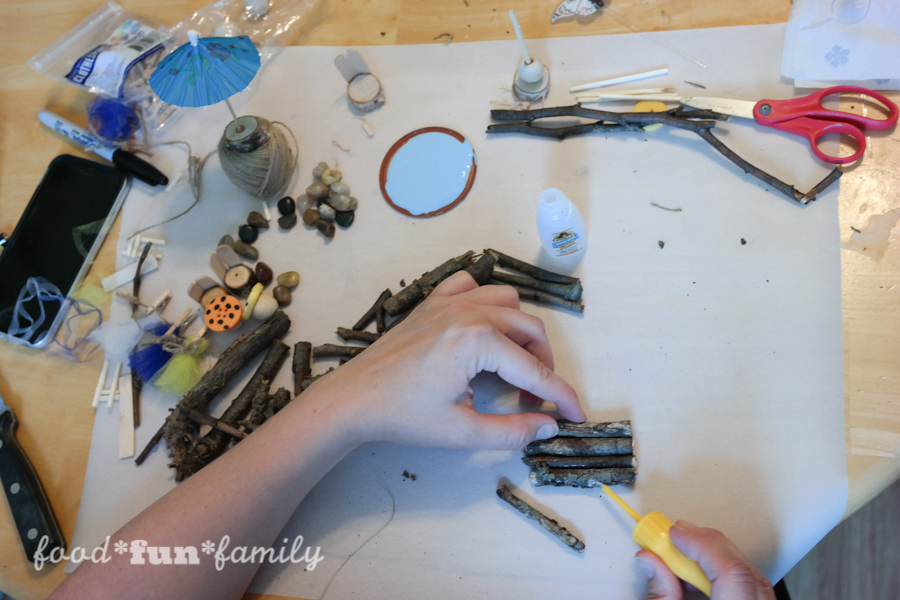
- Tip: make sure that your sticks are fairly straight – they will be much easier to attach together that way. You can also fit them together (like a puzzle) before you get started and lay them out to make your work easier. Sticks can be various widths.
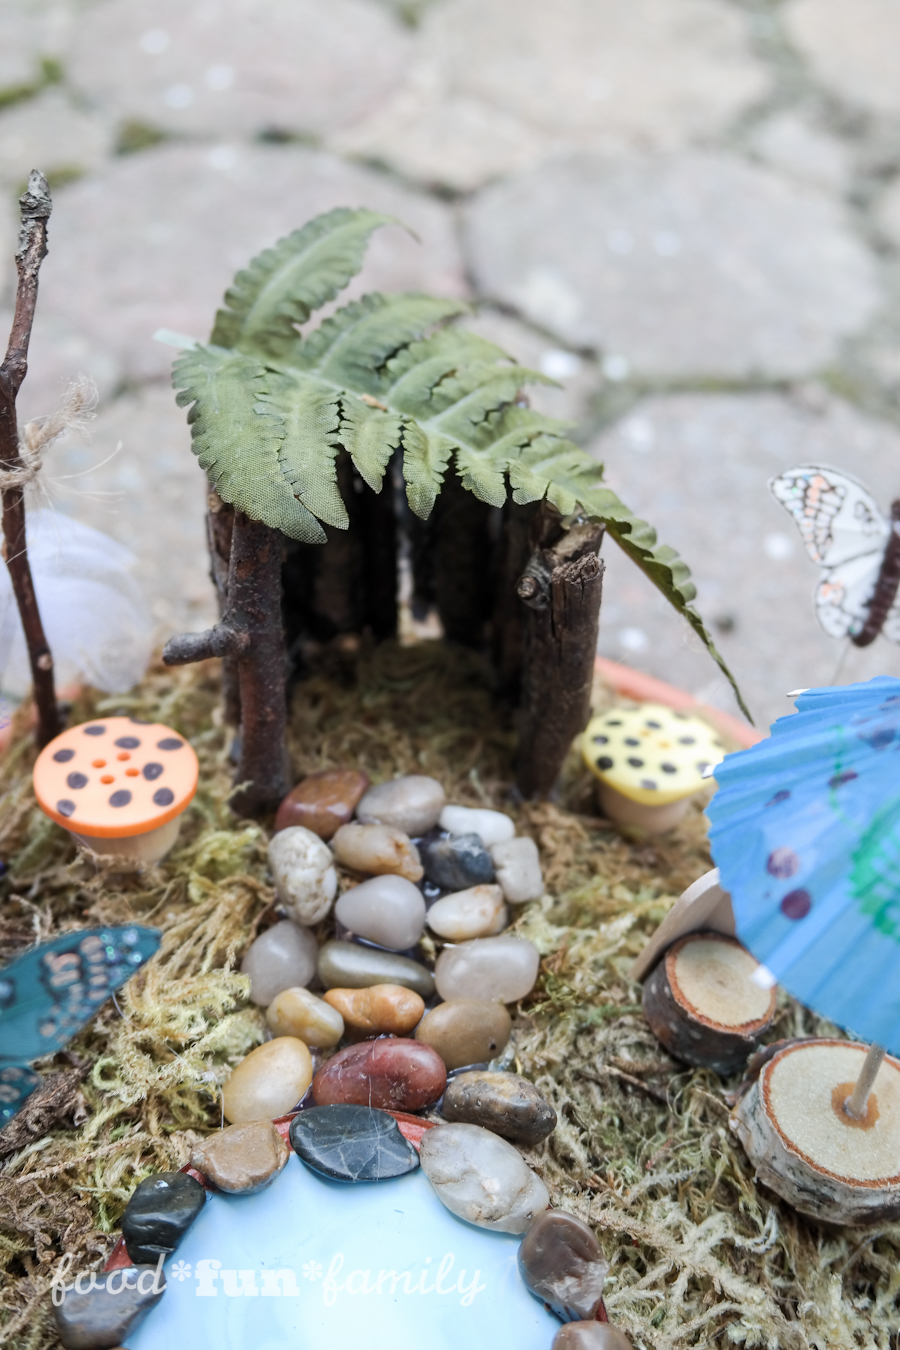
- Brush Gorilla glue onto one side of a stick and press & hold another stick next to it until you have created a wall that is your desired size. Each of my walls was about 5 sticks wide.
- When you have your 3 walls set, attach the walls together (to make a 3-sided wall) using the brush applicator.
- Attach the leaf on top of the house to make a cute, natural roof using the precision tip applicator.
How to make a fairy garden pond:
Supplies needed:
- Mason jar lid
- Blue acrylic paint
- Small stones
- Gorilla glue precision tip applicator
Directions:
- Paint the top of a mason jar lid blue. Let dry.
- Using the precision tip of your Gorilla glue, apply a thin line of glue around the edge of the lid and attach pebbles. Do half of the lid at a time so that the glue doesn’t dry before you make it around.
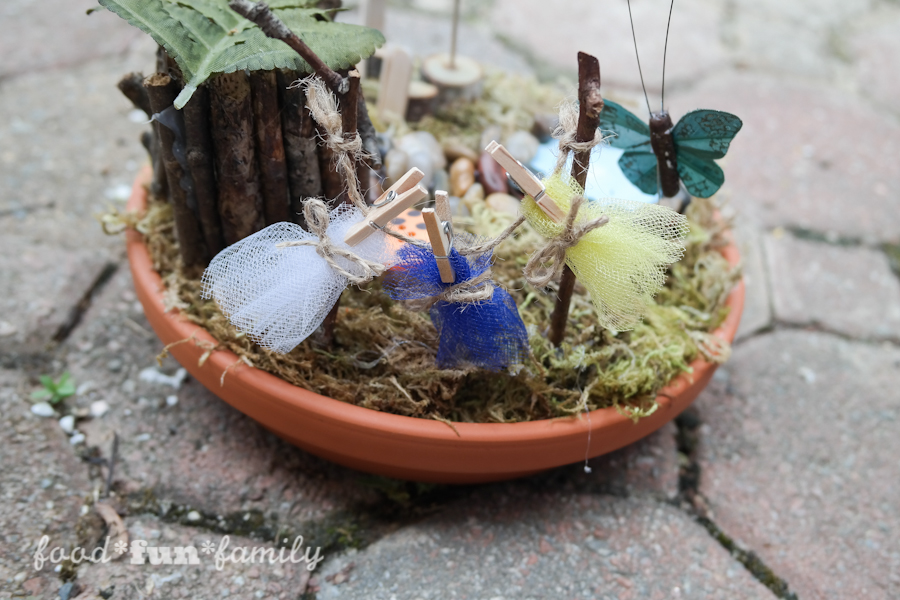
Decorate the rest of your fairy garden with accessories like butterflies or a fairy clothesline with little fairy skirts hanging to dry. Have fun with it!
Enter to WIN $250 VISA Gift Card
Enter to win a $250 Visa Gift Card giveaway! How awesome would that be? Enter on the widget below…and good luck!
Gorilla Super Glue Brush & Nozzle $250 Visa Gift Card Giveaway
© 2016, Food Fun Family. All rights reserved.
what a great craft for the older grandchildren
This is just the cutest craft with an adorable finished product! How fun to work on and be so proud in the end!
Ahh! Thank you! I can’t believe how easy it was, and that we’ve waited all this time to make one.
This is too adorable for words!! I love how easy it is to make! :)
I think fairy gardens are so cute. My kids would love to make one. Pinning! Thanks for sharing your craft idea at the #HomeMattersParty – have a great weekend!
So cute! And portable, too. Easy to store away during the snowy months.
Thank you! Yes, we have it in our family room now.
Oh my is that ever adorable. I love that it is small enough to fit in anyone’s yard.
Oh, thank you! It really was fun. We’ve never done anything like it before! One of the best things about making a fairy garden is that you come up with so many ideas and it’s a never-ending project! lol
This mini fairy garden turned out too cute! It would be such a fun idea to do as a family!