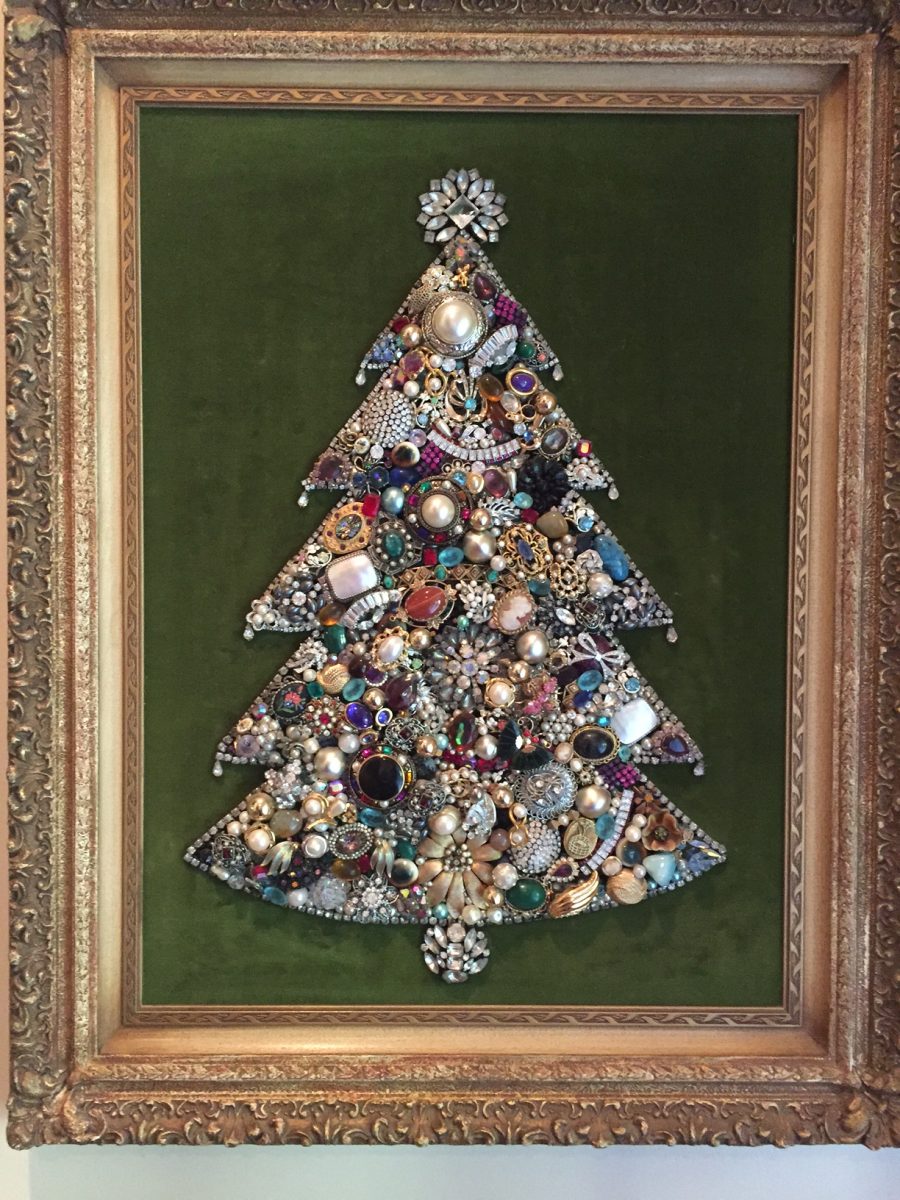
When I was growing up, my Grandma Betty had a jewelry tree in her living room. It looked like a Christmas tree, but she kept it up year round. I loved that tree and spent many hours gazing at it.
When my Grandma passed away, my mom inherited the jewelry tree, and it now lives in my mom’s piano and dining room. I love that it is still part of my life.
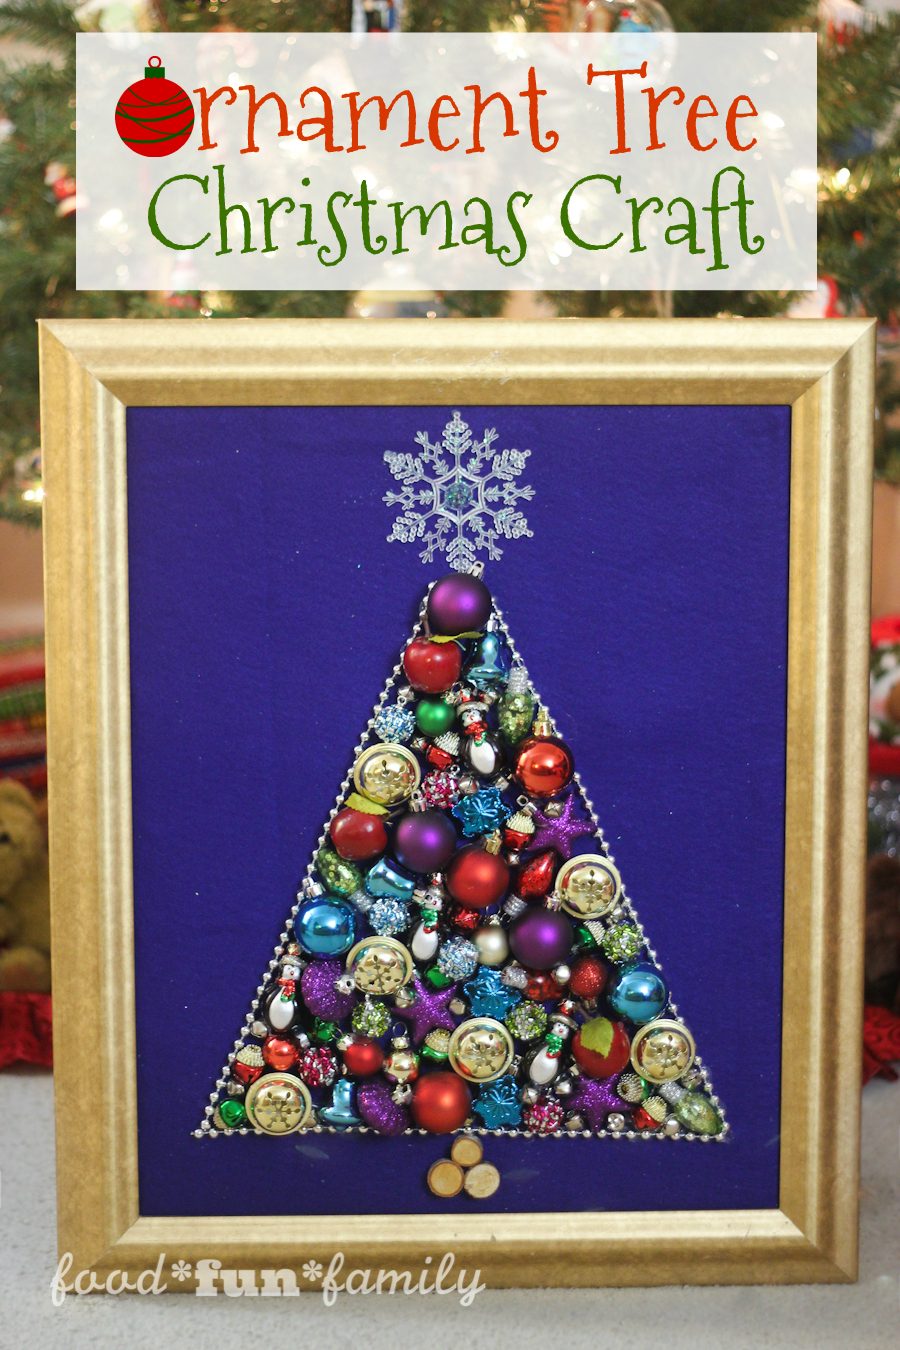
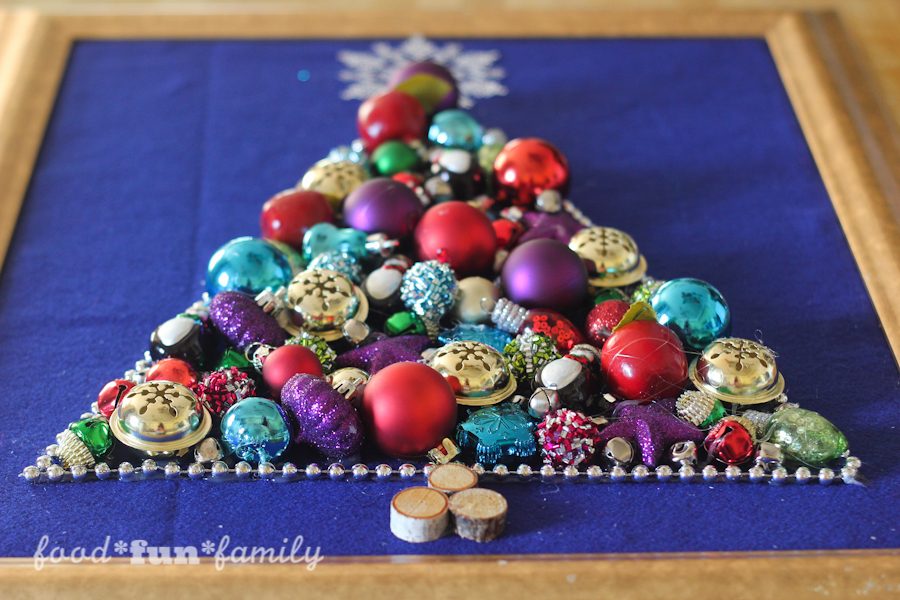
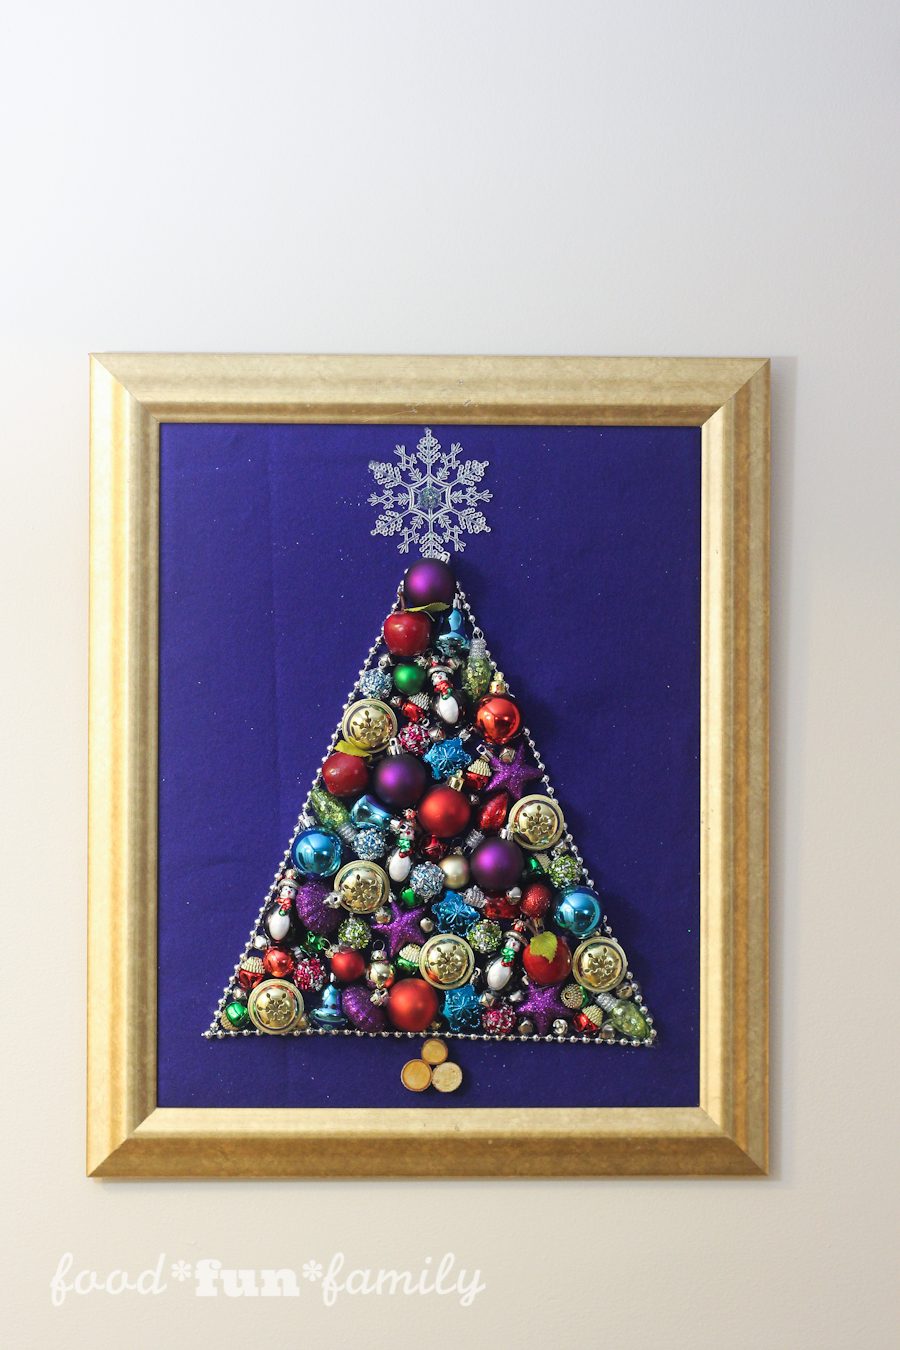
I don’t know why I hadn’t thought of making my own tree before, but this year was finally time. Because I don’t have a collection of fancy jewelry like Grandma did, I opted to make my tree from small ornaments, both ornaments I’ve collected over the years and a handful of ornaments that I gathered during my Christmas shopping.
I was pleased with how easily my ornament tree came together, and even more pleased with how happy it makes me to see the tree hanging in my family room this Christmas. Whenever I see it, I think of Grandma and Grandpa. I can’t wait for it to become one of our new Christmas traditions.
Note: this post is not sponsored in any way, but I have included some Amazon affiliate links to some of the products I used.
How to make an Ornament Tree Christmas Wall Hanging
The wonderful thing about this craft is that you can make it any size, color, or style you want.
Supplies Needed:
- Small ornaments of different colors and shapes (they’re easy to find at the Dollar Store, Walmart or on Amazon), plus a star for the top, if desired
- Large frame (old frames and thrift store finds work great for this. Any size works!)
- Large piece of felt, big enough to cover the inside of your frame
- Hot glue + glue gun (I used Gorilla Hot Glue Sticks and loved how well it worked!)
- Optional extras: cardboard the size of your frame, pieces of wood for the tree trunk, cheap beaded necklace to outline the tree
How to Make an Ornament Tree
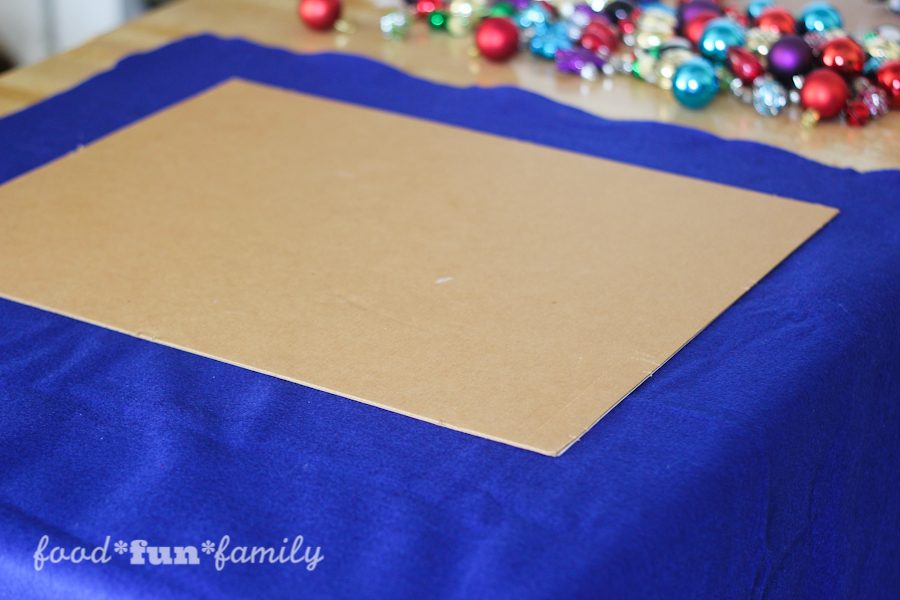
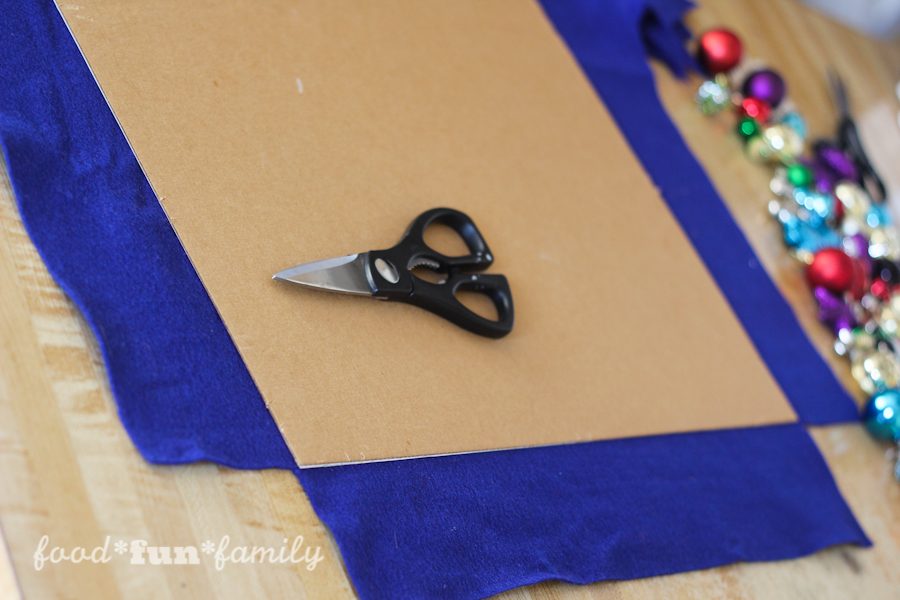
1. Take the glass out of your frame and set aside. If your frame has a sturdy piece of cardboard already, taken that out to cover with felt. Otherwise, use the removed piece of glass to cut a piece of cardboard to fit the frame.
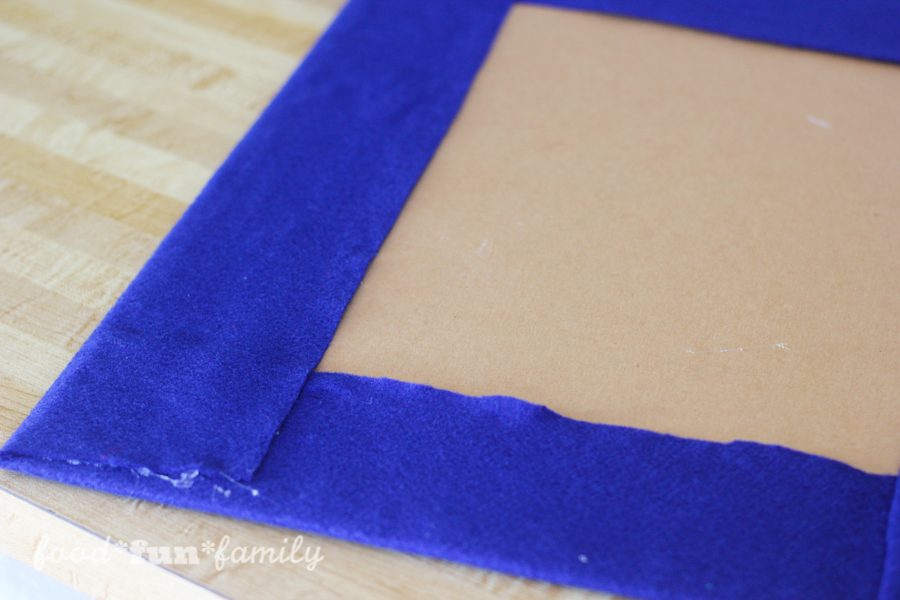
2. Use hot glue to solidly attach felt to the cardboard; make sure you leave extra felt to stretch around the back of the cardboard. Glue flaps securely to the back of the cardboard, as well.
3. Place the felt-covered cardboard back into the frame and replace the frame backing and attachments so that the felt is solidly in place.
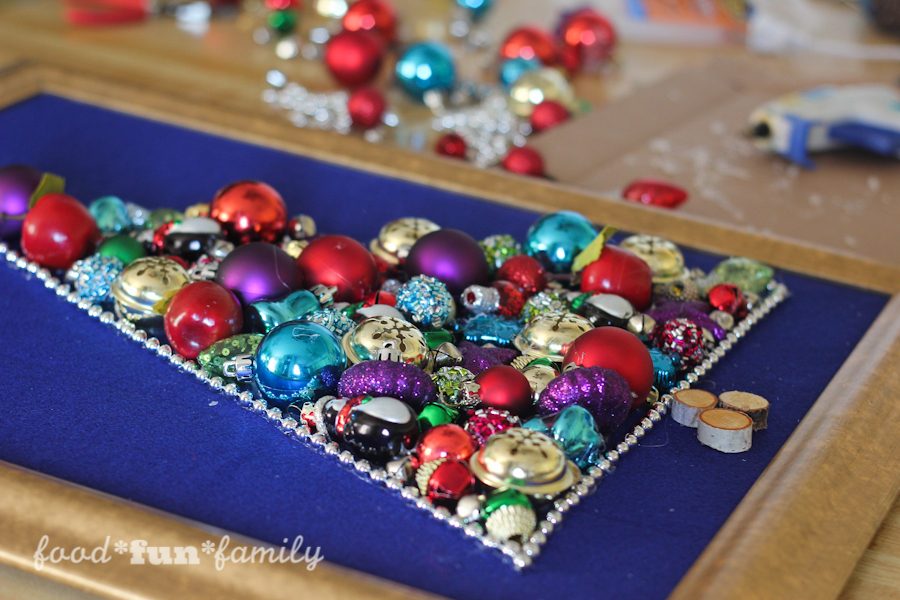
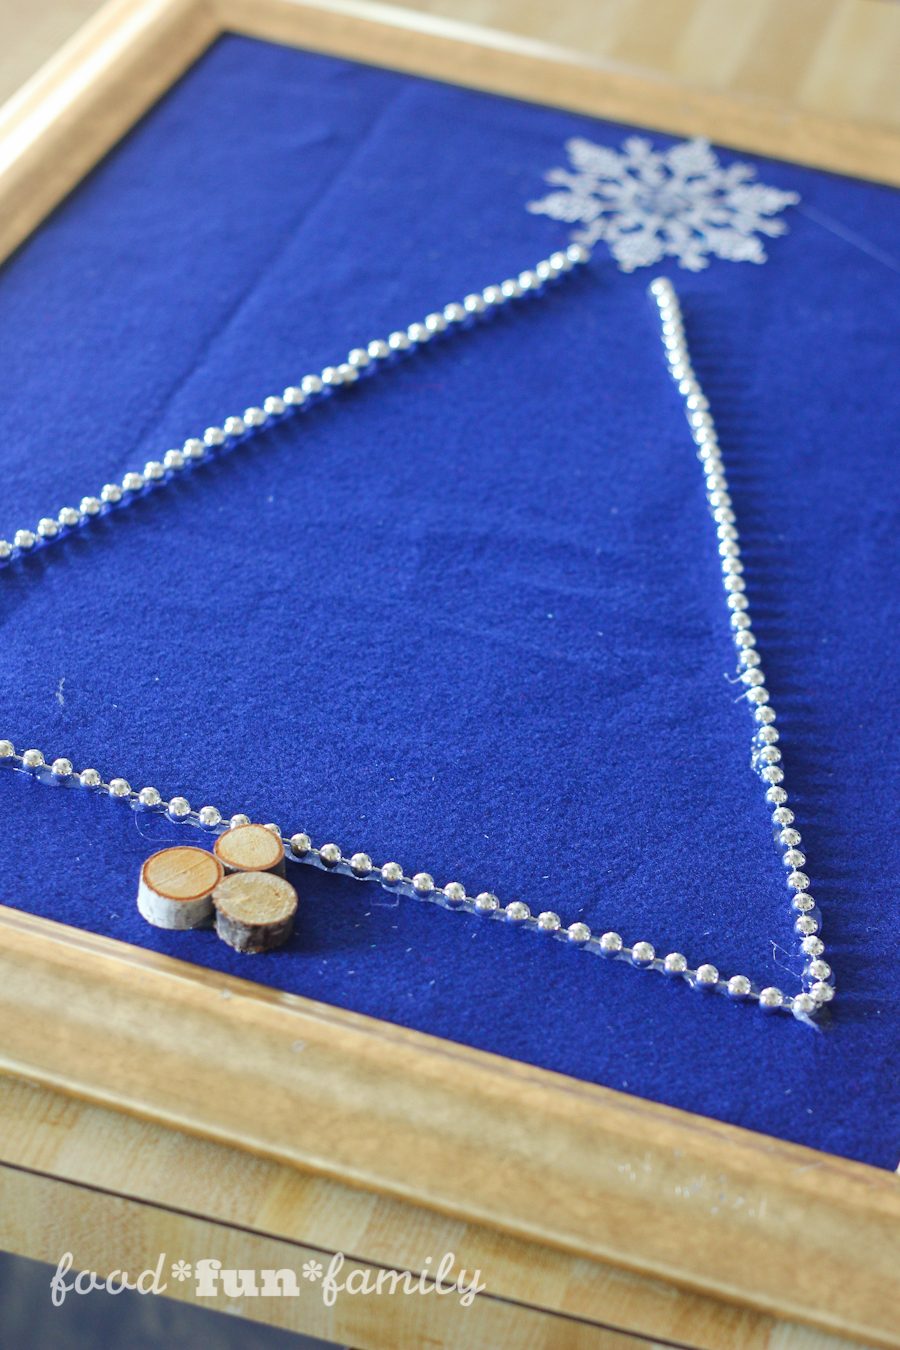
4. If you’d like your tree to have a border, use a beaded necklace (the MardiGras necklaces at the Dollar Store worked great for this purpose!) to outline the shape of your tree. Use hot glue to glue the beads in place.
5. Glue down the tree trunk and star. Note: some thin plastic may melt when it comes in contact with hot glue. I had to try again with a second star.
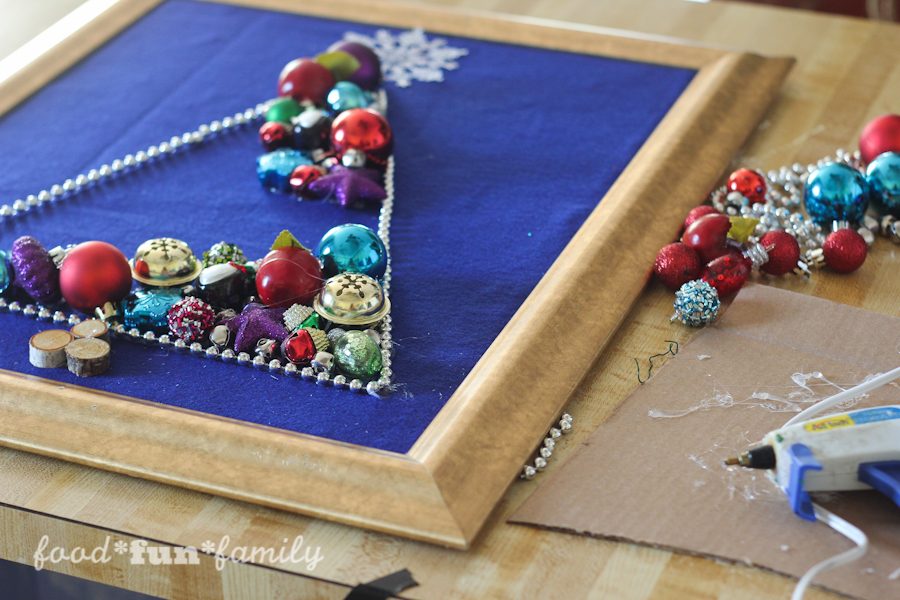
6. Starting at any of the corners of the tree, start gluing down one ornament at a time. I used small silver bells to fill in gaps between larger ornaments. Keep going until the entire tree surface is filled.
That’s it! Hang your ornament tree and enjoy a beautiful Christmas decoration all season long and for years to come.
© 2016, Food Fun Family. All rights reserved.
This is such a pretty craft idea. I will have to make this this next Christmas.
This is such a pretty craft idea. I would love to make this this next Christmas.
This is such a pretty craft! It’s something you could pull out every year as decoration!
That makes a beautiful tree. Like your grandmother’s tree too.
What a fun craft! This is something I can easily do with my daughter!