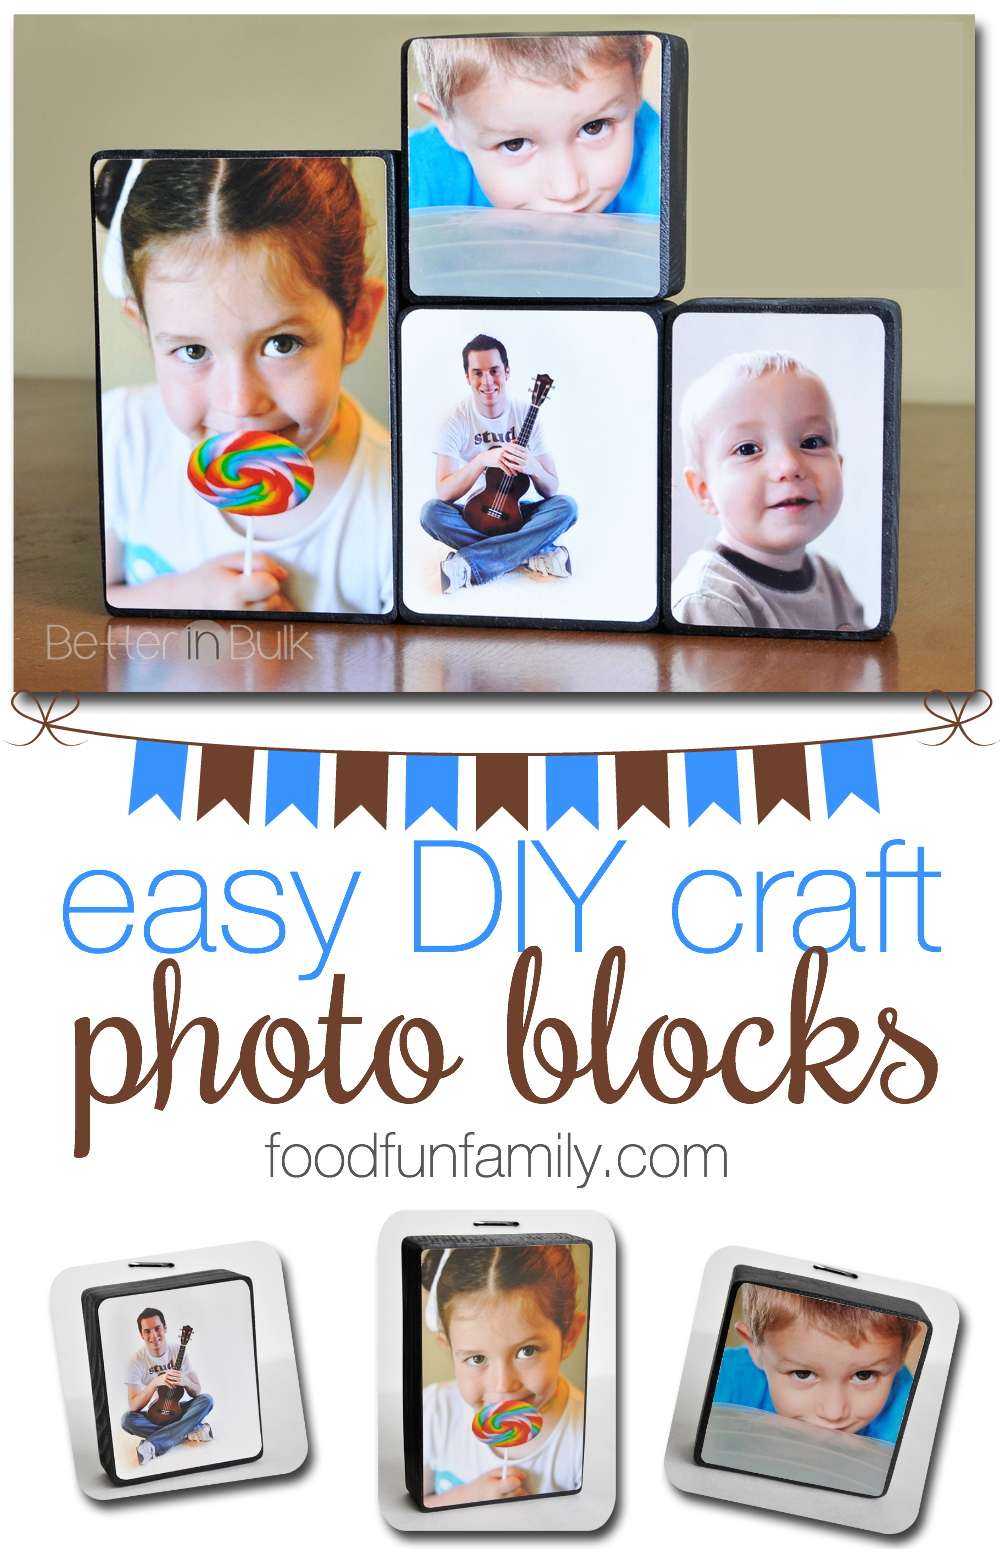
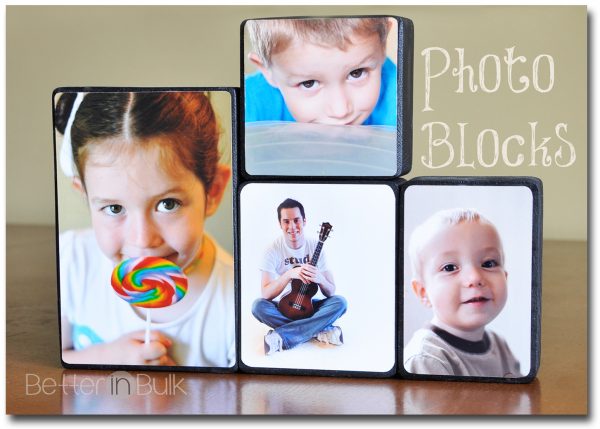
Here are the printable instructions so that you can take this craft offline. Enjoy your DIY project, and feel free to leave me a link to your finished craft. I’d love to see what you’ve created!
- your own photos, printed
- 2×4 #2 pinewood, cut to six inches long
- medium grit sandpaper
- ruler
- pencil
- wax paper
- black acrylic paint
- mod podge
- foam brushes
- self adhesive laminating sheets (optional)
- Print your photos
- Measure 2x4 to 6 inches (many hardware stores will cut the wood for you for free)
- Sand rough edges
- Prepare area to paint (I use wax paper)
- Paint block of wood black
- When paint is dry, apply a coat of Mod Podge to all sides
- Apply laminate film over pictures (optional)
- Apply Mod Podge over top of photo block and apply picture. Brush Mod Podge evenly over top of picture and let dry.
What MORE craft projects like these? Be sure to check out all of Lisa’s DIY ideas. You’ll LOVE them!!

© 2014 – 2016, Food Fun Family. All rights reserved.


These are so cute – I love that you can use them anywhere. Thank you for sharing at Share It One More Time. Cathy
Great idea. Sharing over at Sunday Features FB page today. Thanks for linking up with us! And…great tutorial overall! Thanks again!
What a great idea, and a good way to breathe new life into photo gifts. Thanks for the simple how-to.
I love these and thought it would be fun to put the ABC’s on one side then photos of animals etc on the other. You could make the blocks all the same size or different sizes for building
I love this! I enjoy doing crafts as long as there not too difficult. Would love to make one with pics of my 3 grandsons.
That’s pretty easy even for me. Comes out so well.
This is so adorable! I need to make some of these!