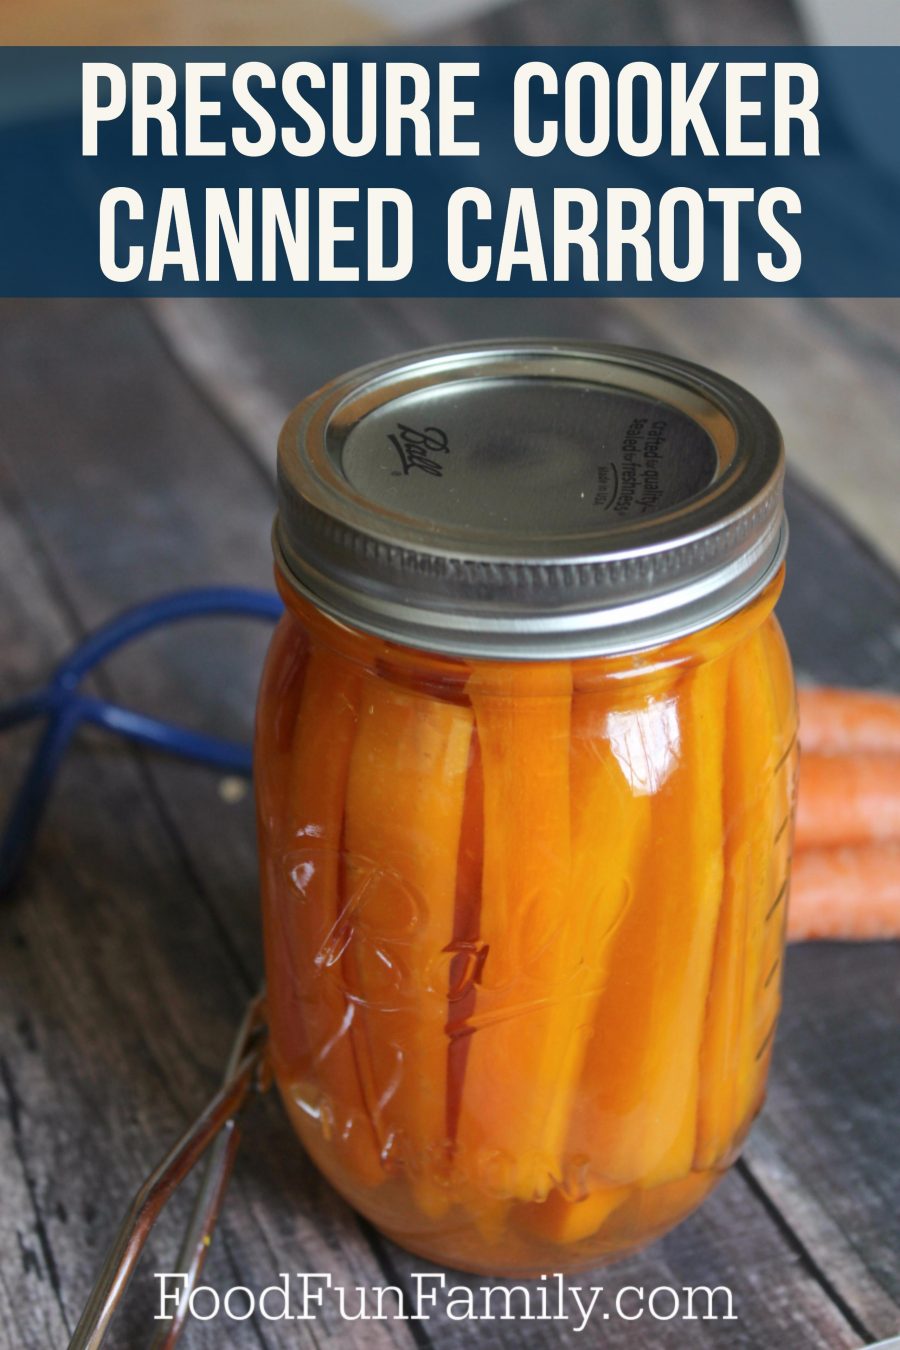
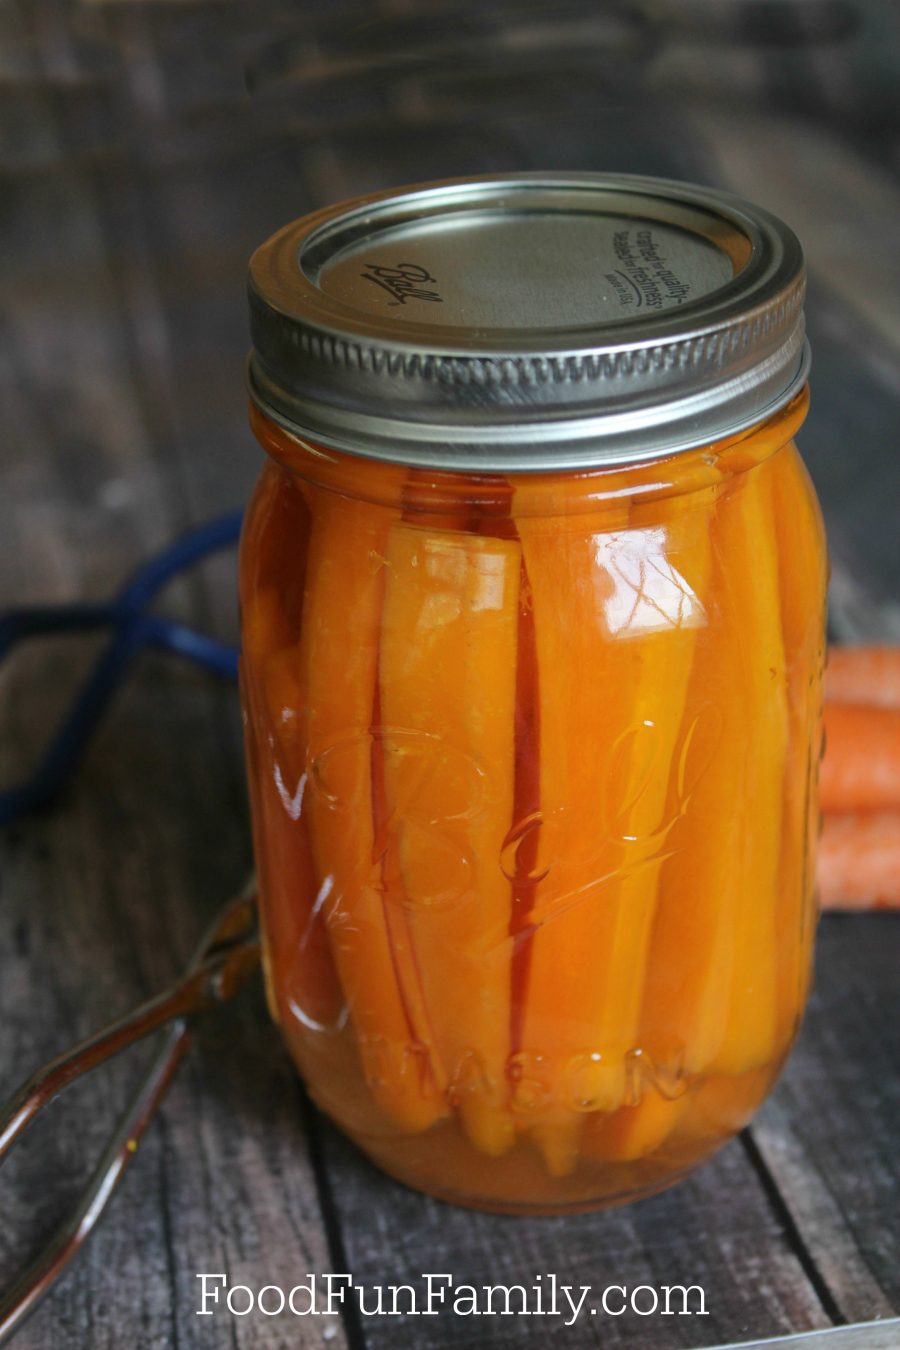
Have you ever tried pressure cooker canned carrots? Do you grow carrots in your garden? Take advantage of summer and fall produce and preserve carrots for the rest of the year! You are going to love this recipe for canning your own carrots in the pressure cooker. So easy and so satisfying!
Canning and cooking in my pressure cooker has become my new obsession hobby. The ease and satisfaction of canning your own food is a heady experience so I am using it quite regularly. I prefer to can in the pressure cooker, especially when I’m canning carrots. Since carrots are a low-acid vegetable, this means that to be safely canned they need to be processed in a pressure cooker rather than a water bath. Having an electric pressure cooker really makes the job easier and I feel safe using it as well.
What’s even better is that my pressure cooker not only helps me can vegetables, but I can cook delicious and easy meals for my family. I love having such a versatile appliance in my kitchen.
Here is what you need and how to can carrots in your pressure cooker:
Ingredients
- 3 ½ lbs. carrots
- 2 tsp. coarse sea salt
- water
- Pressure Cooker
- Pint jars
- Jar lifter
Instructions
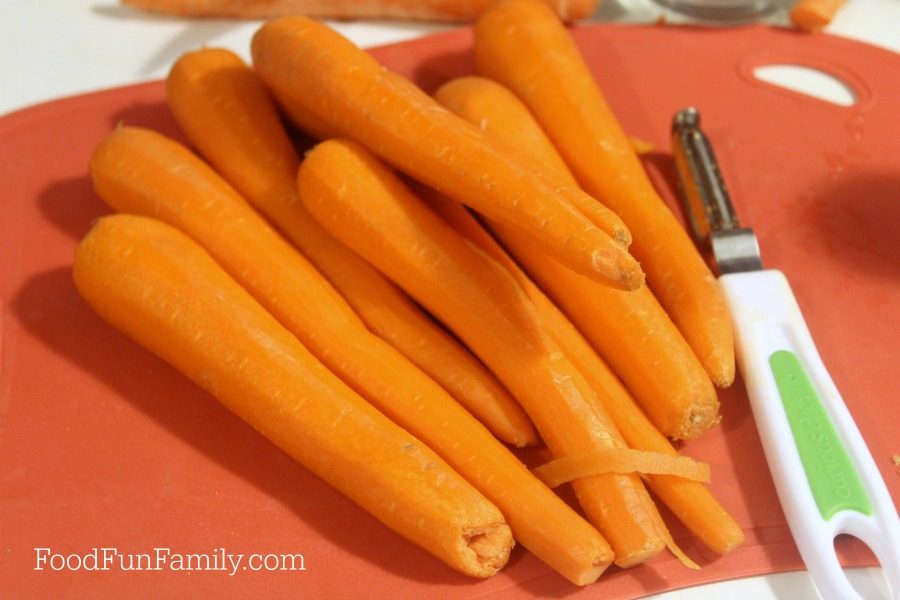
- Wash carrots well; peel, and cut of tops. To serve them a little differently I like to slice them lengthwise, they look so pretty on the plate!
- Cut carrots in half lengthwise, and then quarter - you do not want them too small or they will be mush once cooked.
- Cut in half horizontally so that they are shorter than the jar.
- Be sure to sterilize your jars before use, the simplest way to do that is to place lids, jars, and rings in a large pot of boiling water and remove when ready to fill.
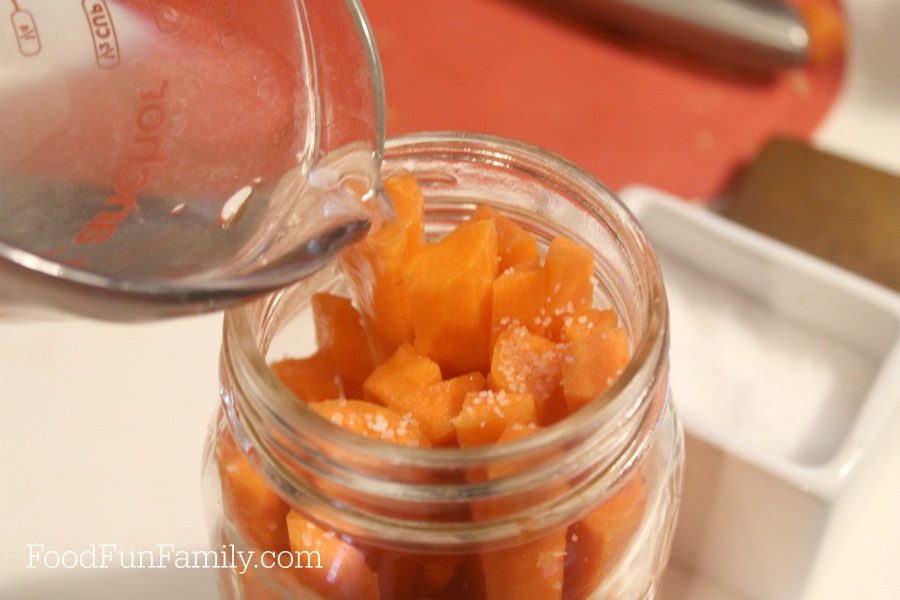
- Pack carrots tightly into jar and pour hot water over them, leaving 1” of head space. You can either boil it in a pot on the stove or use the near boiling water from your coffee pot (this is what I do).
- Add ½ tsp. salt to each jar.
- Place lid and ring securely on top.
- Place jars in pressure cooker according to your model's instructions; mine says to place them in and cover ¼ of the way with water.
- Process your carrots for 25 minutes. My cooker has a button for canning and automatically sets the pounds of pressure; check your manual for instructions.
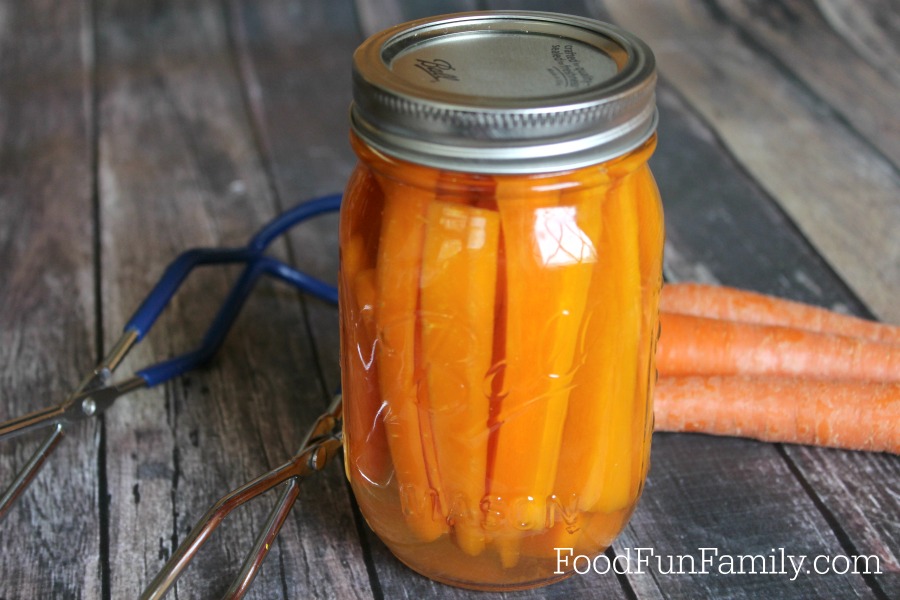
- Remove jars from pressure cooker and allow them to cool. You should hear each jar make a popping sound indicating that they have sealed properly.
- Store your carrots in a cool, dry place.
As written, this recipe makes approximately 4 pint jars.
Enjoy!
I recommend these products for canning (Amazon affiliate links used):
- Pressure cooker for canning (this is the one I have)
- Pint-sized Mason jars plus new lids
- Jar lifter
© 2016, Food Fun Family. All rights reserved.
I’ve always wanted to try canning, but I’m scared I’ll mess it up and ruin the food…lol. Looks good though and I’m sure I’ll try it eventually.
I love fresh canned carrots (make that any vegetable).
I bet these carrots taste delicious and I need to pressure cook some carrots before winter!
This is awesome! We canned carrots or the first time late last year and I’m curious to what I’ll think of them ;) Thank you for sharing with us at Funtastic Friday!
Oh, thanks for the feature!! I appreciate it. :)
Beautiful recipe and such a fun product – obsessed myself, mostly I do jams and jellies! Stopping by from Foodie FriDIY to do a little extra sharing! Also, I’m featuring your recipe this week so come back and share again!
These look so good in the jar I don’t think I would ever eat them. lol Please come on over to our blog hop we have Wed-Sun and share this https://www.floydfamilyhomestead.com/! We would love to have you!!
My grandma always did down the harvest from her garden, I helped but alas the skill I did not aquire
I really like the way you cut the carrots – they look so much prettier in the glass jar than carrot “coins.” I love my pressure cooker and my pressure canner – they really save time! Thanks for sharing this post! Blessings, Janet