In the last 17 1/2 years since I got married and had kids, I’ve gathered up quite an extensive collection of home movies. I started out using one of those enormous camcorders recording on VHS, then moved to a smaller camcorder using smaller tapes. Eventually, we bought a video recorder that used mini DVDs, and it wasn’t very long afterwards that I got a Flip camera. I thought the Flip camera was so fancy…until all of my digital cameras (and even my phone) could take videos, too.
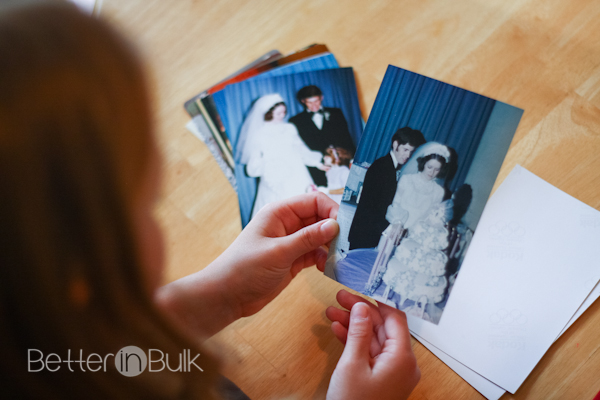
Over the years, we caught lots of priceless short videos like this
What was left after so many years and such a variety of recording methods was an overload of media that was incompatible. Some home videos lived on my computer. Others were in dusty old VHS tapes stacked in the entertainment center. And still more were stuck on mini DVDs that could not be read by my current computers.
Every once in a while, the kids would want to watch videos of past concerts – or the day they took their first steps – and it was always a hassle to pull out the appropriate outdated recording device to play back the video.
I knew that I needed to figure out how to put everything in order so that we could enjoy, standardize and preserve our home movies. Luckily, over a year ago, I discovered YesVideo and have since accrued a much more manageable home movie collection. I’ve been asked a few time about the process of preparing and sending your original movies off to YesVideo, and so I wrote up a step-by-step process to show everyone how easy it really is to convert your old photographs and home movies into DVDs.
Step-by-Step Guide to Converting Home Movies into DVDs With YesVideo
- The first step goes without saying…but I’ll say it anyway. Gather all your home movies, whether they be on film reel, VHS, 8mm video, DVDs, memory cards, or CDs (did I miss anything?). YesVideo will also convert stacks of photos, photo albums, slides, etc into slide shows on DVD.
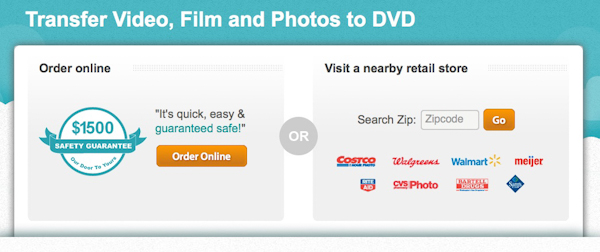
- Decide how you would like to send your media in. You can order directly from YesVideo’s website and mail your movies straight to them, or you can chose from one of their 34,000+ retail locations throughout the US (retail partners include Costco, CVS, Walmart, Sam’s Club, Walgreens, RiteAid and more).
- If you’re mailing your videos yourself (I’ve done this and have been SO happy), prepare each separate media by labeling with a Post-It or sticker so that it’s clear which video is which. I always place my videos in a large zippered plastic bag to protect the movies from moisture and then package them in a box, ensuring that there is enough padding that they aren’t going to bump around during shipment.
- If you would like to drop your videos off at a retail location, prepare your media similarly (minus the packaging–they’ll take care of that). Organize and label before you head out to the store.
- Fill out the order form, either online or at the store. What they ask for is pretty basic: how many different types of original media you have, a title for each DVD (plus customized theme and background music if desired), and how many copies of each you would like made. Apply any discounts you may have, enter your shipping address and billing information, and you’re ready to send your originals off.
- After you have sent your originals to YesVideo (either from home or from a retail location), they will travel to YesVideo’s Santa Clara, California headquarters (where I was able to tour last year) – the whole time protected by YesVideo’s Safety Guarantee. The transfer process is carefully orchestrated and awesome to watch….but all you need to do at this point is sit back and wait for your DVDs (and returned originals) to be sent back to you.
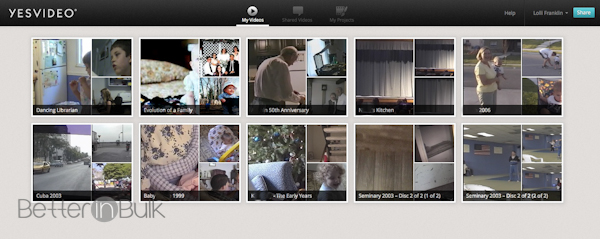
- Along with your newly converted DVDs, you will also have access to your movies on YesVideo’s online sharing site, which I love.

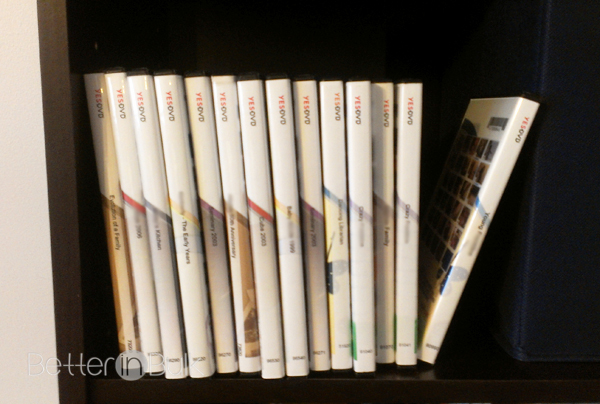
See how easy that is? It’s so easy that I’ve converted DOZENS of home movies and old photos, and the result is more than I could have dreamed of. The kids pull the home movie DVDs off the shelf and watch them regularly. Reliving our past memories together strengthens our bonds and brings us closer together. We laugh together about how silly we used to be, and get nostalgic as we watch Great Grandma play the piano.
What old memories would you like to preserve onto digital media? Start here!
Note: I am a YesVideo Ambassador and receive compensation for my time, but all opinions expressed within this post are my own. Like I’ve said many times before, I highly recommend using their services!
© 2013, Food Fun Family. All rights reserved.
Thanks a lot for sharing this. It will surely become useful since I also have lots of videos that are still on DVDs. I was actually thinking of transferring it anytime soon. Just perfect that I found this blog that gives such information.