These 10 simple food photography tips work together to take any level of photographer, regardless of camera or experience, to the next level with their food photography! Try some or all of these tips when you’re taking pictures of your next recipe, but remember – The most important tip to keep in mind when choosing the “perfect” shot is that your food in focus. No amount of props or composition will make a blurry shot look better.

10 Basic Tips to Improve Your Food Photography
Remember – you can implement these tips with any camera, even a smart phone, regardless of experience. As always practice makes perfect! Play around until you start getting shots that you’re proud to show off!
1 – Shoot a LOT! – In this digital age, there’s no reason to hold back and EVERY reason to snap away! When you’re taking pictures of food, the focus and focal point make a huge difference in the aesthetic appeal of the picture and small changes (keep reading for ideas!) can make an ok picture into an unforgettable picture. Even professional photographers take a ton of photos and throw out the majority. Remember – you can always delete a dozen or two bad photos from your computer, but you can’t un-eat food after the fact.
2 – Use natural light whenever possible – Natural light (ie, light from the sun, through a window, etc) is the best light to use in almost ALL photos, from people to landscapes to food. Flash is relatively taboo in food photography as it makes food flat and very unappetizing. My rule is that if my house is so dark when my food is ready that I need my flash, then I’d better just save a portion and take pictures the next morning. Remember – it’s ok to set up a miniature photo shoot in another room (don’t limit yourself to the kitchen!). Find your available light and use it!
3 – Composing shots – Experiment with multiple angles – rotate the food around and rotate yourself around, too! See how your food looks from straight above, from different angles, each side, and from the level of the food. Think about what colors are in your food and how to “play” off those colors and make the dish look as appetizing as possible.
4 – What’s in the background? (Get rid of visual noise) – Don’t be so focused on the food you’re shooting that you forget about the visual “noise” going on in the background. Clear off counters and tables and be aware of reflections in dishes and glasses.
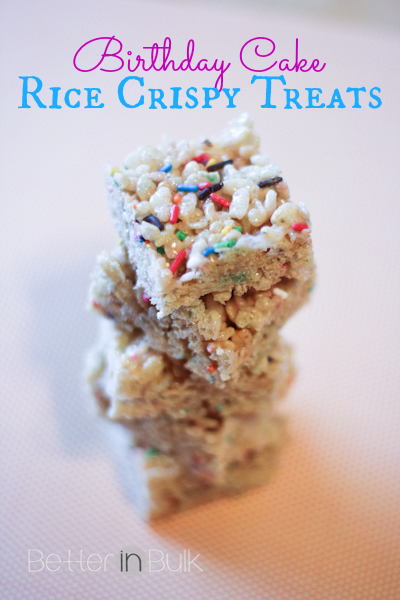
5 – Be comfortable and confident with some basic photo editing – You don’t have to own Photoshop to be able to edit your pictures like a pro. I recommend using a free program like PicMonkey to adjust a few key aspects of your pictures – especially white balance, exposure, and sharpness/clarity. One of the things I notice frequently about my food photos is that the coloring is “off” in the straight-out-of-camera photos. Colors – and the entire plate of food! – really come alive (and look more appetizing) when the white balance is properly set. Don’t be scared off by a term like “white balance” – just adjust your colors so that your food doesn’t look too green or blue or red. Try to match the colors on your screen as closely as possible to the colors in the original food. PicMonkey is also great for adding a recipe title to your photo (hint – this makes your pictures extra Pinterest-friendly!)
6 – Take advantage of props…but don’t go overboard! Use simple solid-color napkins as an accent color under your plate, add a cute wooden spoon, or use a white foam core board for the backdrop. As I’ve gotten more into food photography, I’ve gradually collected quite a few simple props – solid-color plates (small salad plates work best!), place mats, wooden cutting boards, cake stands, and backdrops. This is something I’m still working on! Remember – “props” can be as simple as a glass of milk next to your plate of food or a rolling pin and scoop of flour in the background. Props can add character and interest to otherwise boring foods.
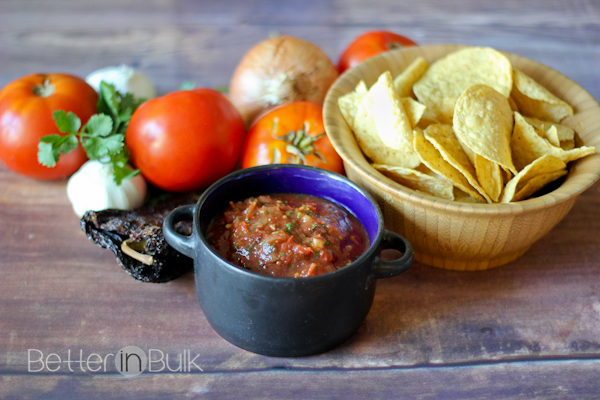
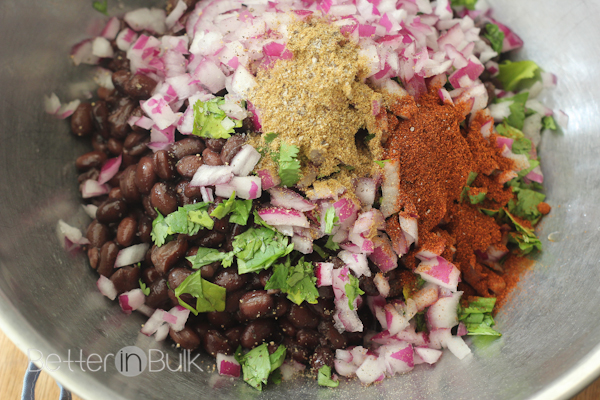
7 – Details, details, details – Before you shoot, check your plate and table for stray crumbs or drips of sauce, and clean off smudges and finger prints on glasses and dishes. Sometimes you need to get rid of messes…and sometimes you need to add some “messes” to create texture and interest. A drizzle of sauce, when added on purpose, can look great (it also makes the food seem more “real”). Don’t forget the value of garnishes, as well, such as parsley, cilantro, or a lemon wedge. I also love adding a few of the individual ingredients to the shot. Don’t forget that the cooking process itself can lead to some wonderful shots, too. Take pictures of the chopping, the stirring, and the mixing!
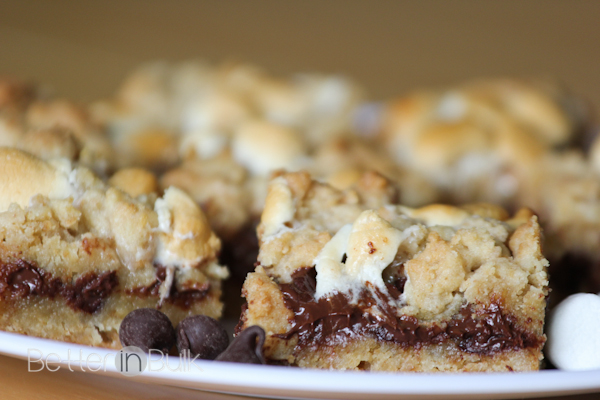
8 – Dig in! – I love to take several shots of the “whole” food and then dig in…and I’m not talking about eating it all before I’m finished taking my pictures (my kids all know better than to eat anything until I’ve given them the go-ahead!). Slice a big piece of cake and show off the texture, or cut into the roast. Remember that sometimes the inside of your food shows your recipes off better than the outside.

9 – Work quickly – When dealing with food that is hot or cold, be sure to work quickly. The faster you take your shots of food, the fresher it will look. You can get your shoot ready with props and plates all set out and then serve up the main feature as soon as it’s ready. No one wants to see melted ice cream, drippy frosting, or wilted lettuce.
10 – Zoom in – Don’t be afraid to get in close! Grab some zoomed-in pictures of your dishes. The entire plate doesn’t need to be visible in each shot, and it’s totally ok to cut food out of the frame. I love to cut a slice or grab a spoon or fork full of food and take a close-up of a “bite” of the food that I’m featuring. Readers will feel like you’re offering them a taste test!
What do YOU love to see in food photography? What shots stand out the most to you? If you have any additional tips, please share them below!
Note: This is the photography tips portion of a workshop I am presenting this weekend at the Digital Family Summit in Baltimore. I do not consider myself a fabulous food photographer, but I do know how to handle a camera AND I know how to cook delicious foods, so in that sense I am an expert, right?
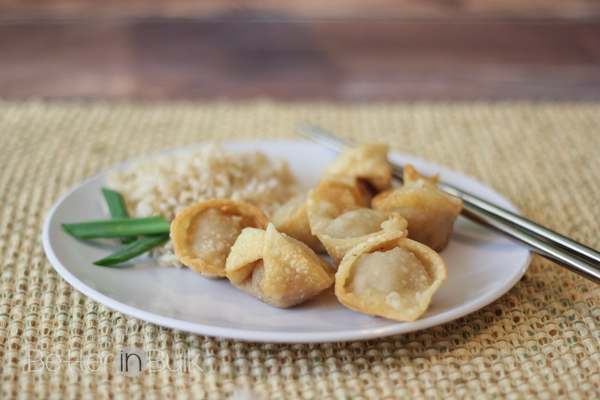
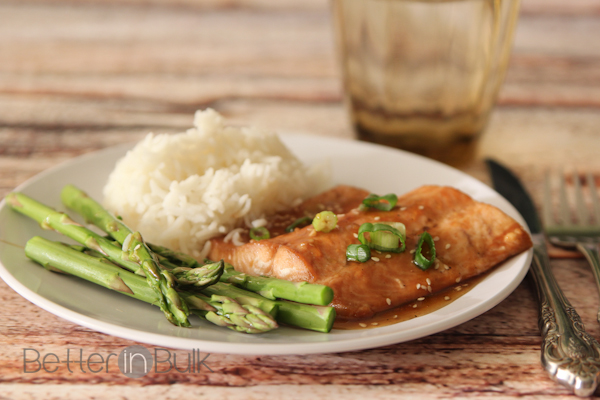
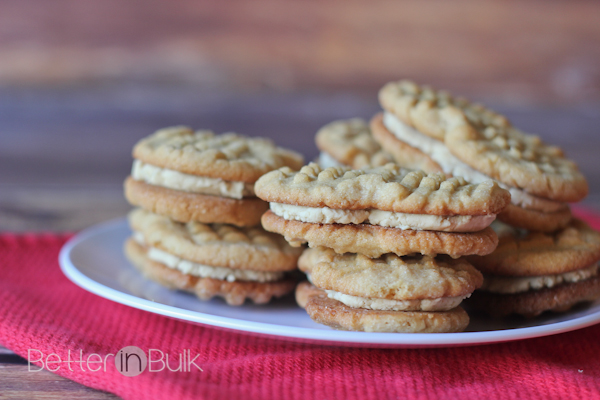
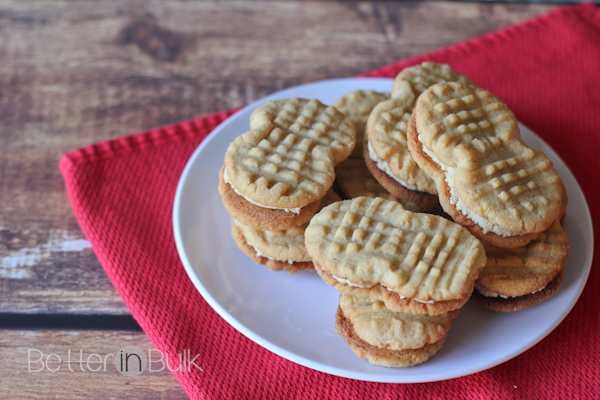
Food photography has been one of the main things I’ve been working on this past year, and although my food shots are nowhere near the gorgeous shots I see on Pinterest, I am still thrilled to share a few of the things I’ve learned…and am still learning. All the photos included in this post are my own and may not be the ideal examples of each point, but should help give you some inspiration.
As a bonus, each of the pictures above links to the recipe. Enjoy!
Now who’s ready to take some pictures of food?!
© 2013, Food Fun Family. All rights reserved.
Thank you these are helpful tips!
I need these kind of tips – especially not to be afraid. I was photographing cupcakes yesterday, and could have really used some of these great tips. I will be putting them to use this week!
I’ll say it again. You take amazing food pics! Thanks so much for sharing these tips. I totally need to slow down and spend some time improving my photography skills.
Awesome tips! One that frequently gets me is the hurry, I take too long and then sometimes the dish doesn’t look as fresh – my biggest challenge here is lasagna, the sauce on top always looks awful if I’ve taken too long.
thanks for these tips. I always have a hard time with pictures. These tips will be helpful.
These are such great tips! I need to use more props in my pictures. I really need a better camera at some point too, but making do with what I have.
Tricia, I can help with that! (I hope!) I posted a tutorial ages ago about aperture, and how adjusting the aperture setting on your camera blurs out the background (or keeps the background in focus). Hope this answers your question! https://foodfunfamily.com/2010/02/aperture-bloggography.html
great tips thanks. I’d love to know how you blur out the back ground in a photo
Great tips! Thanks for sharing!