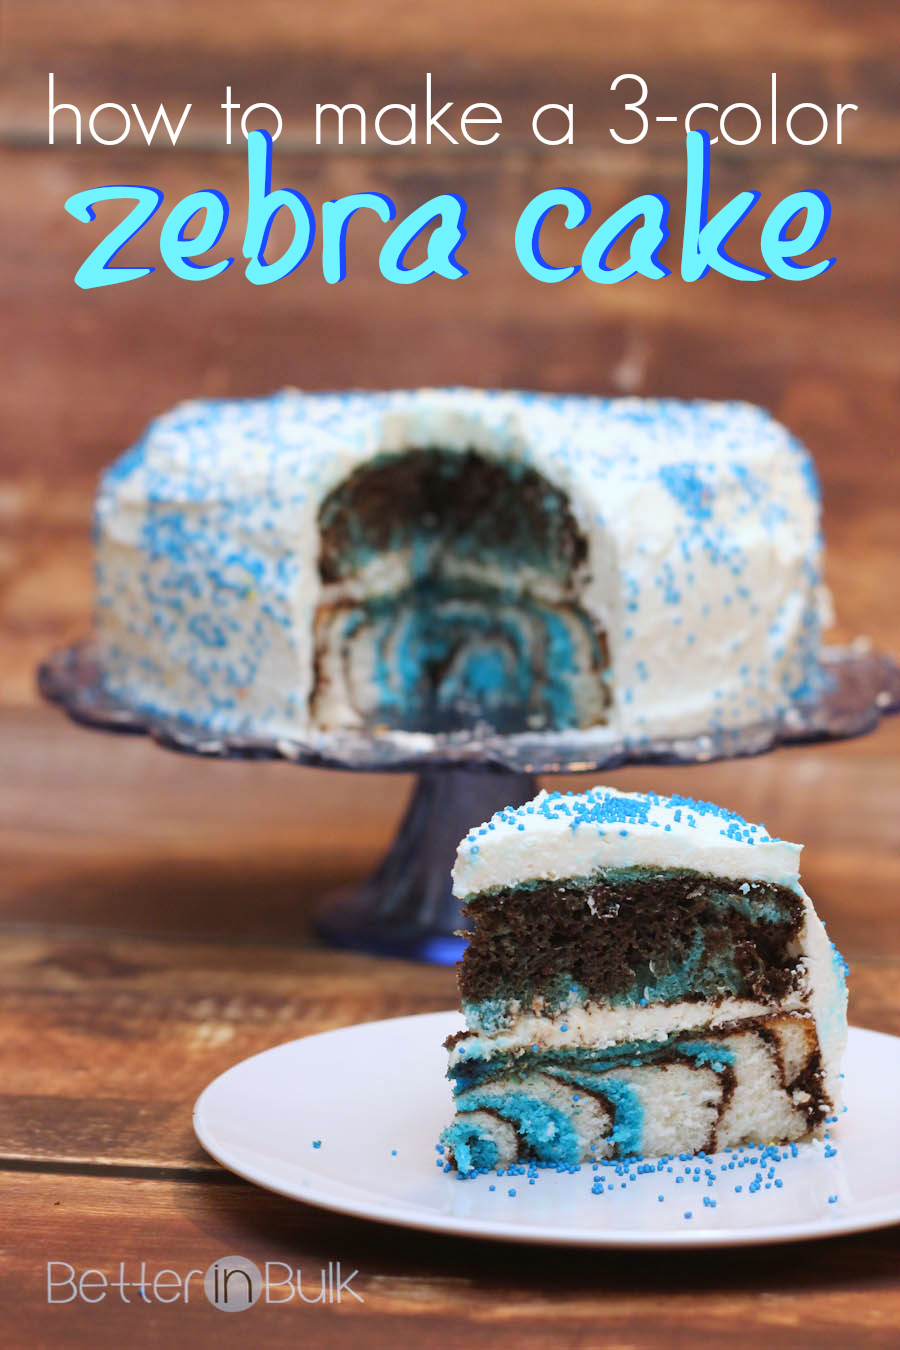
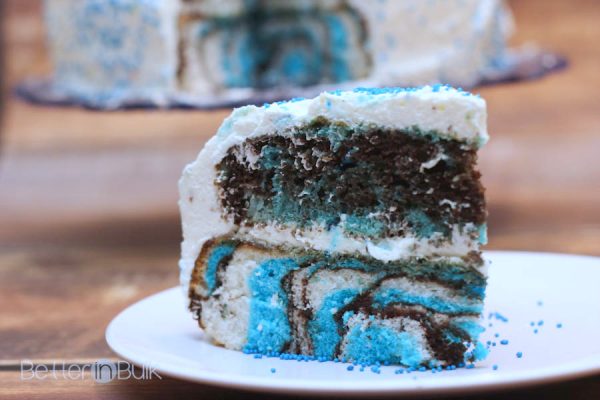
A few years ago, my oldest daughter taught me how to make zebra cakes. I was shocked at how easy they were to make but mostly how brilliantly fun the presentation was. Yesterday, when my birthday boy asked for a chocolate and vanilla cake, I immediately thought of making a zebra cake…but because I was feeling slightly over-zealous, I decided to add an extra color to the mix.
Just a little note of explanation: my first layer went just fine, but I ran low on white cake for the second layer, since I had colored half of it blue. Long story short…my second layer is mostly chocolate. Next time I will use 3 cake mixes (2 white cakes and one chocolate) and use the left over batter to make some cupcakes.
- 1 chocolate cake mix, mixed according to package directions
- 1 white cake mix, mixed according to package directions
- 1 white cake mix, mixed according to package directions PLUS gel food coloring (see note below)
- Mix each cake mix in a separate bowl. Add gel food coloring to one of the bowls of white cake mix until you've got a color you're happy with (I highly recommend using gel food coloring instead of the typical liquid drops).
- Lightly grease and flour 2 round cake pans. Working on one pan at a time, pour about 2 spoonfuls of chocolate batter (I use about ⅛ of a cup) into the middle of the pan.
- Pour another few spoonfuls of white cake mix directly on top of the chocolate batter.
- Pour a few spoonfuls of colored batter directly on top of the white batter.
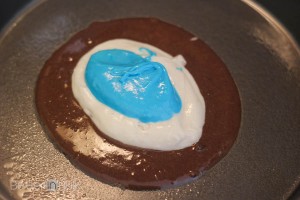
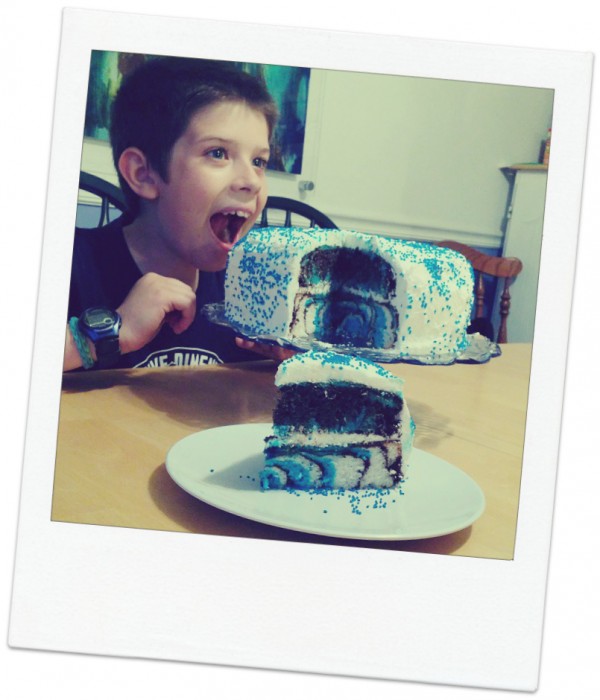
- Repeat until pan is ⅔ full. Note: the batter will probably look pretty "messy" as you keep layering scoops on top of each other. Don't worry. Just keep adding batter on top of the last scoop you put down. It's especially fun for kids to see the swirls appear inside the baked cake!
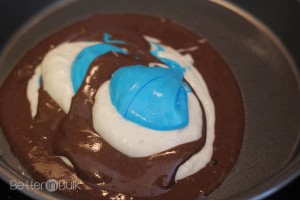
- Bake cakes according to package directions (I cooked mine at 350° for about 35 minutes).
- Let cakes cool on a wire rack before removing from pans. If cakes have a rounded top, use a bread knife to carefully slice the rounded top off. You can eat the extra cake.
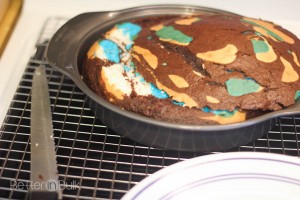
- When cool, loosen sides of cake with a bread knife and carefully turn it out onto a plate. Repeat with second cake.
- To add frosting, generously spread frosting on top of bottom layer. Place second layer on top. Spread frosting over top layer and then along the sides until cake is completely covered.
- Note: I used homemade whipped cream to top this cake. See recipe below. If you prefer buttercream frosting, I highly recommend this frosting recipe. If you use whipped cream, be sure to refrigerate leftover cake.
Where to buy GEL FOOD COLORING
Recipe for whipped cream topping:
Homemade whipped cream couldn’t be easier! And it tastes so much better than store bought whipped cream and is much lighter than using buttercream frosting (not that there’s anything wrong with a homemade buttercream frosting…).
For best results, use a chilled bowl and beaters.
- 2 cups whipping cream
- 1/4 cup powdered sugar (or more to taste)
- 2 teaspoons vanilla
Whip cream, sugar, and vanilla in a deep bowl with hand beaters on high until desired thickness. Be sure to lick the beaters…
As you can tell, I also added blue sprinkles to the whipped cream for a fun and colorful touch.
© 2015, Food Fun Family. All rights reserved.

That’s such a cute cake idea! Thanks for sharing it with us at Funtastic Friday! I hope we see you again soon!
I love the colorful layer you added! How fun :) Thanks for linking up with Merry Monday this week.
I love how this turned out! So fun with the colors! Looks delicious, too!
What a fun and colorful cake, perfect for a kids Birthday party! And not as hard to make as i thought.
This cake is really beautiful and a fun one to make for my a birthday for my nephew. He would love the awesome colors and his friends would love it too! Thanks for sharing.
What a fun cake, I love it! I would love to try making one of these.
Thank you! Always happy to share! I wish the top of the cake had turned out as well as the bottom…but it was still a fun and yummy cake! We polished it off!
How much fun! I love how it turned out. Thanks for sharing at Idea Box!
What a fun boys cake! And so simple to make.